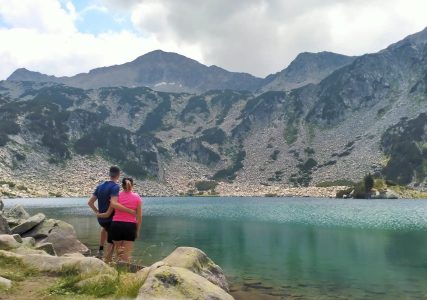
In the past period we have camper sold and deposited us fully into the construction of a new camper† An adventure we have never embarked on before and which many people thought would take us months. Within a month, however, our camper was ready to go and in the meantime we are already in it Slovenia ?. How could we have done this so quickly? We are happy to share our story!
Also read: How to: Buy or convert a campervan
Our story
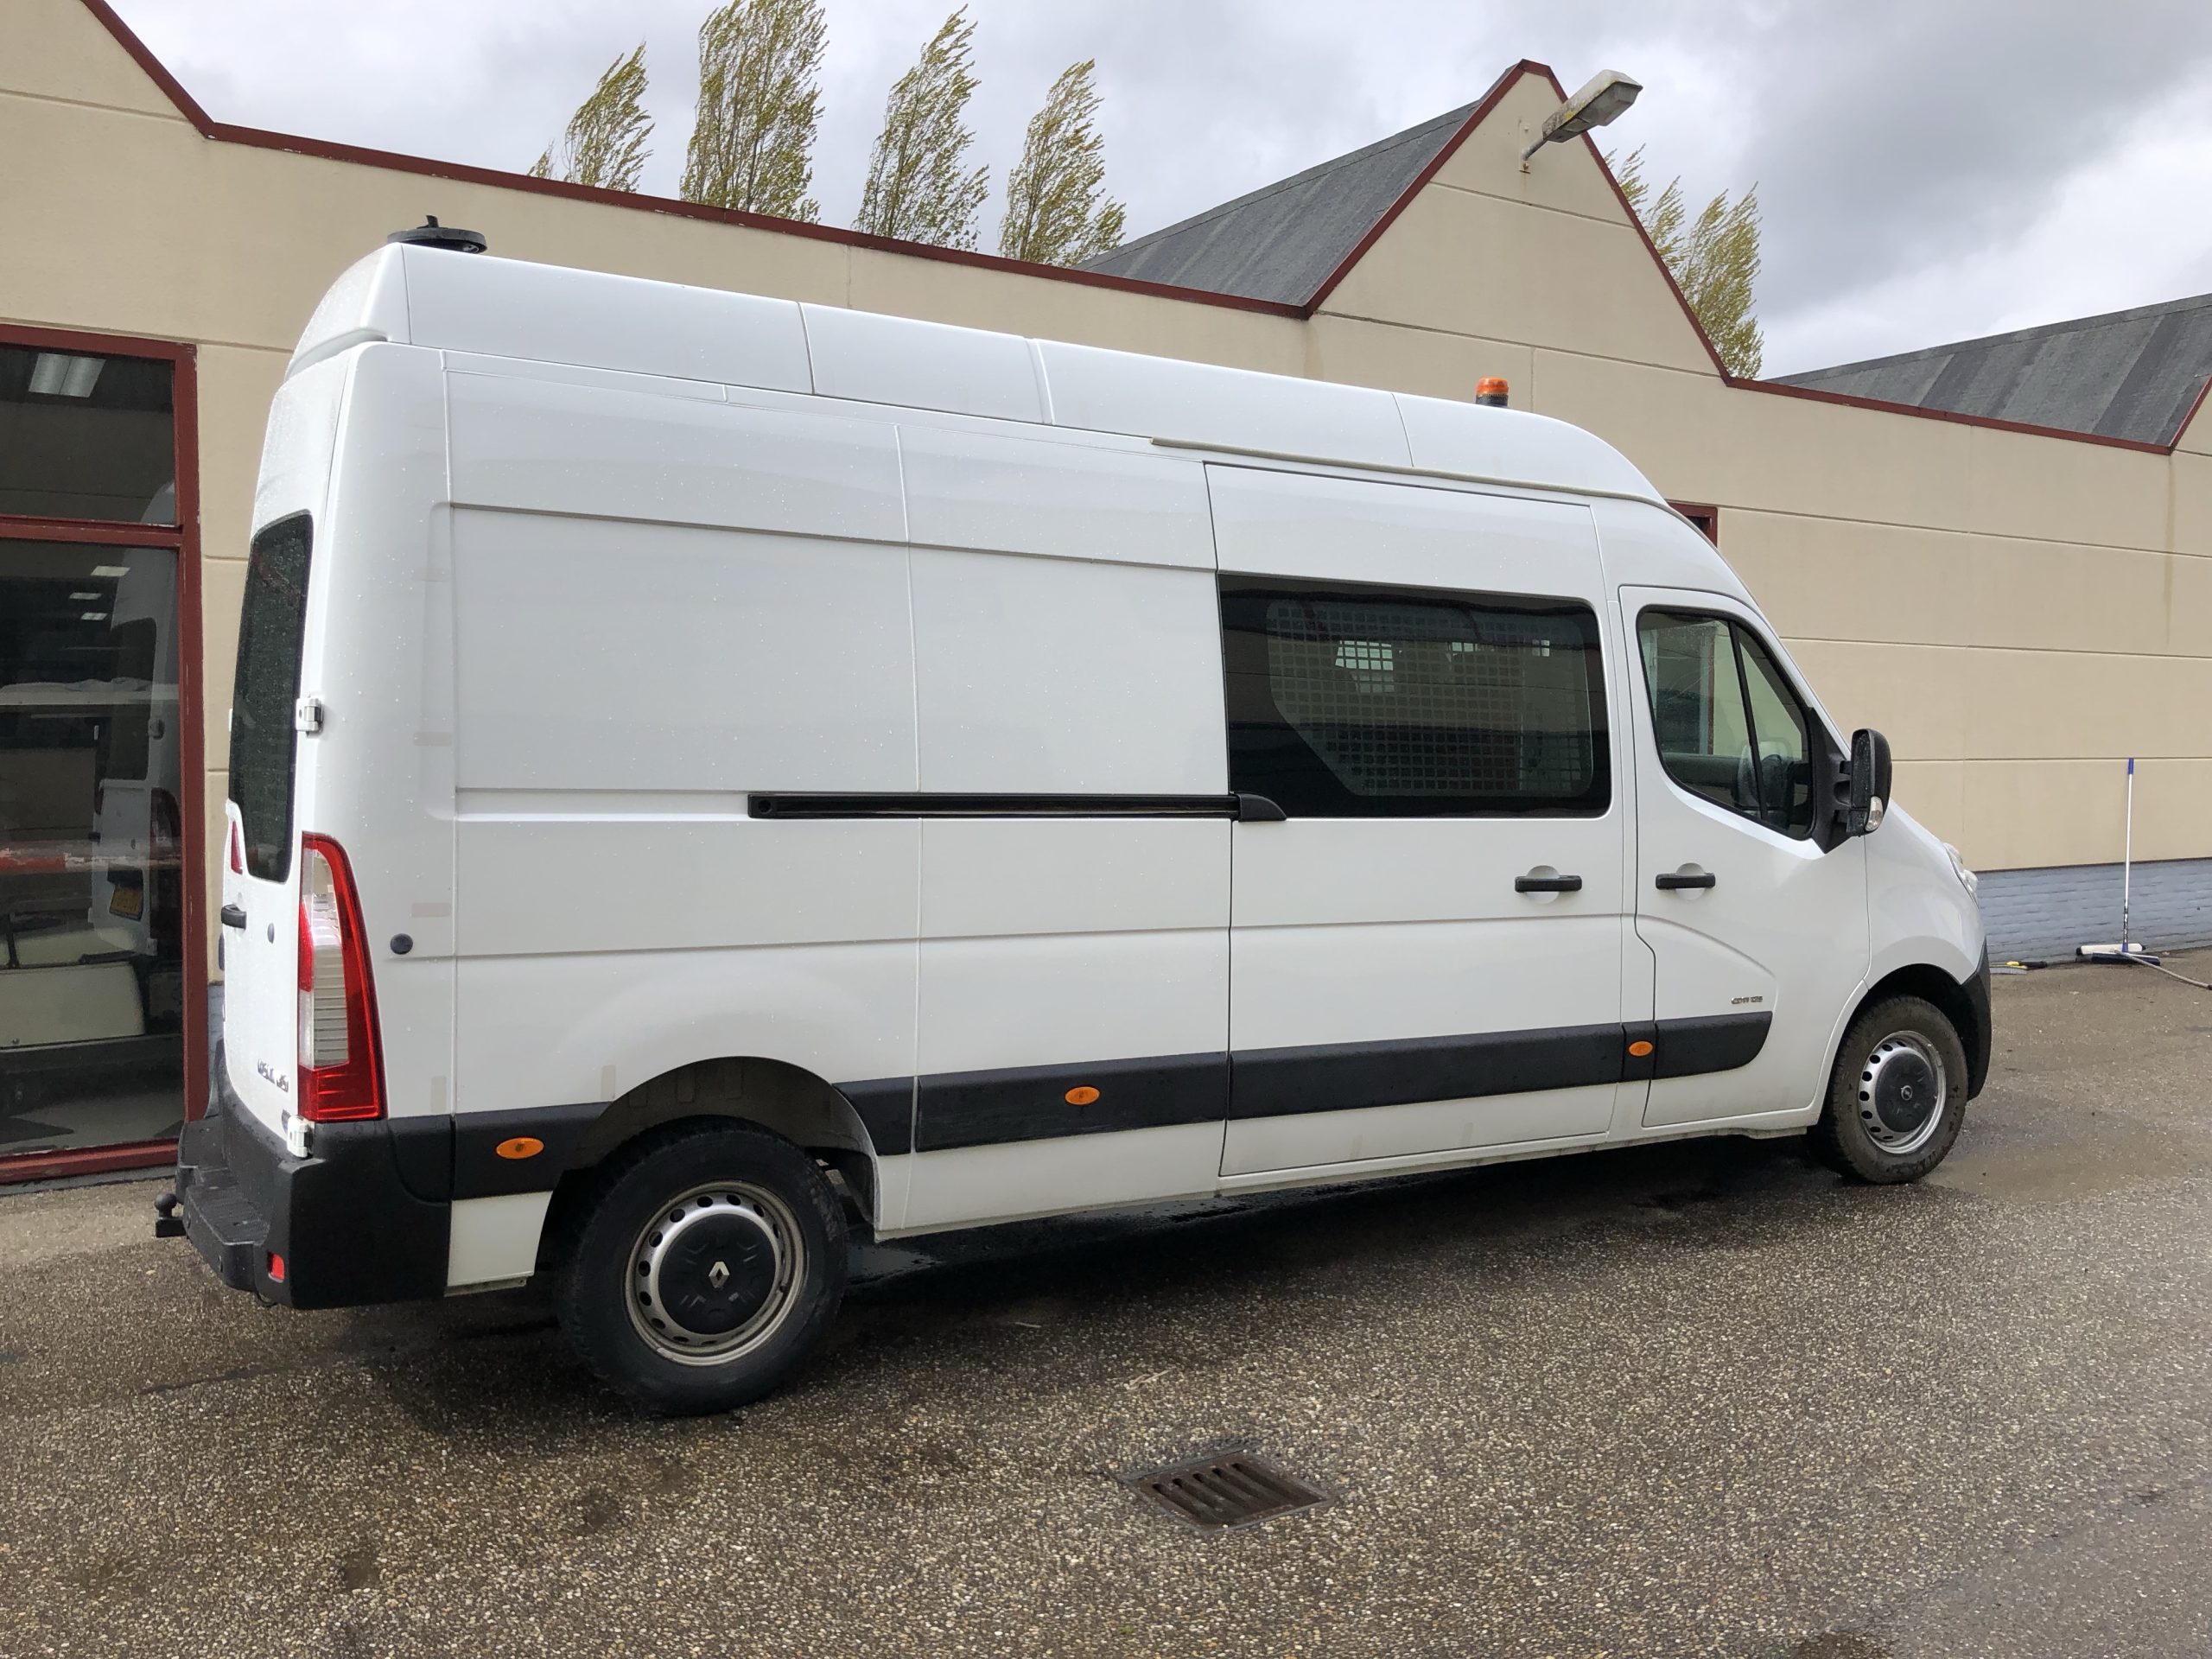
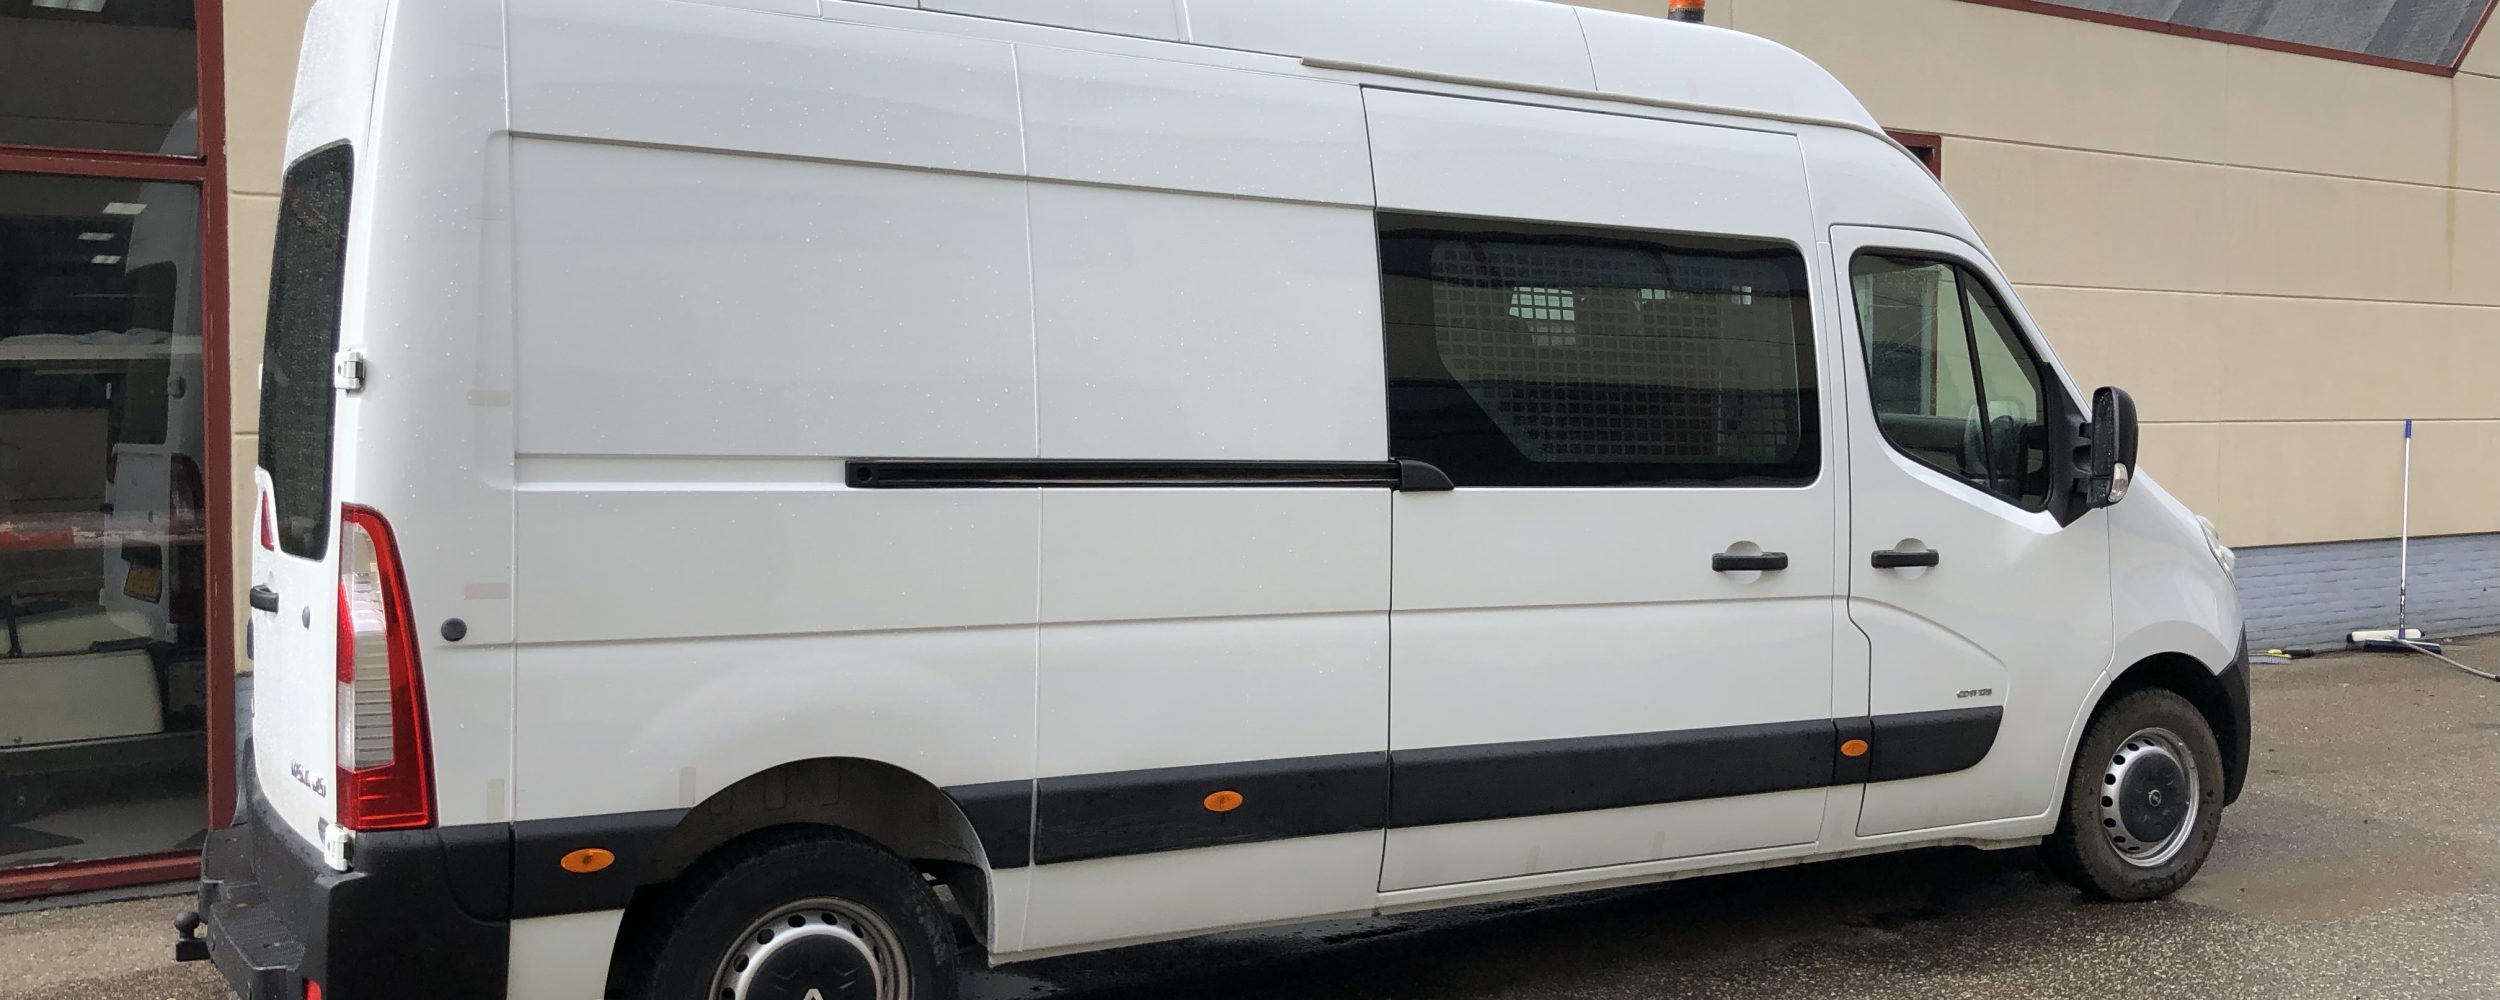
We returned to the Netherlands at the end of April and sold our camper within 24 hours of returning. This all went so fast that we didn't even know which bus we wanted to buy in return. Since we are fairly decisive types, we immediately visited 5 to 6 car dealers a day to buy our new bus after about a week to convert it into a camper.
Also read: #vanlife DIY | Which campervan do you choose if you are 2 meters tall?

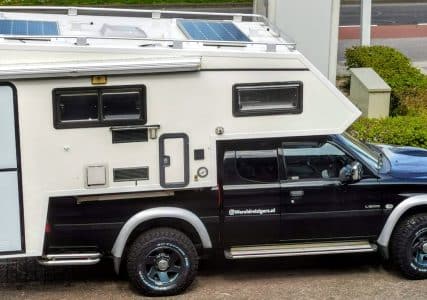
From delivery van to camper van
Since our bus is a delivery van – and therefore no camper van – we had it converted into a camper on 9 May with a temporary (rented) installation at the RDW. You can also wait with this until you have finished building the camper. However, we did not allow ourselves this time because after the inspection you still have approximately 2 to 3 weeks to arrange a new license plate and request the low motorhome tax rate.
Also read: Convert (fire brigade) bus into a camper | RDW design requirements and job plan
Build a camper in 10 steps
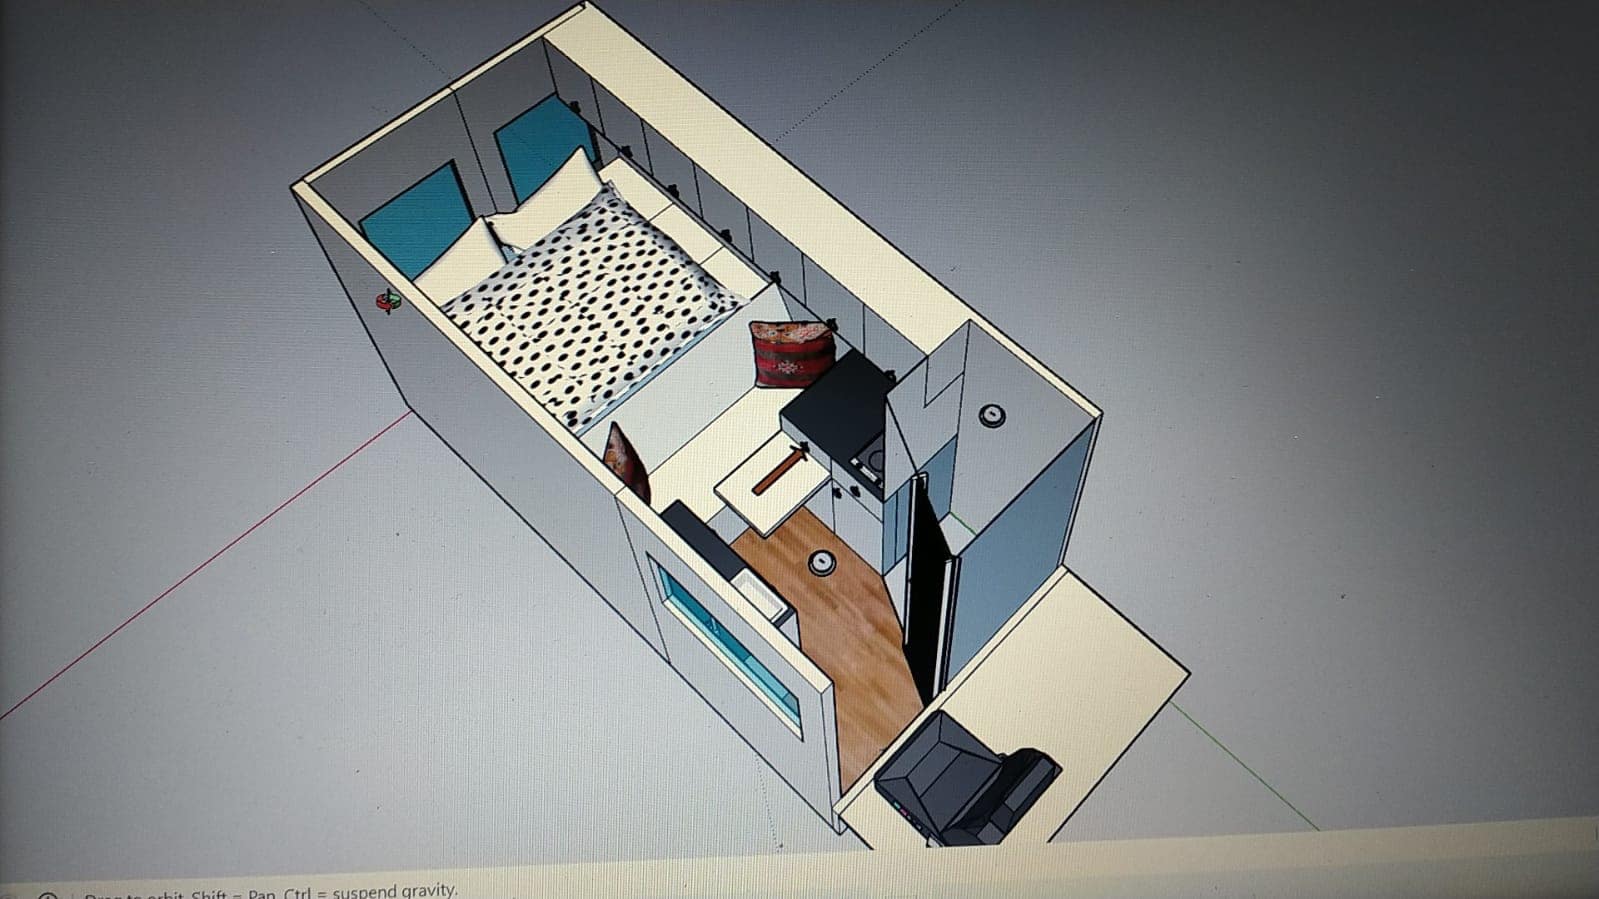
1. Create 3d model in Sketchup
On May 10 we started building the camper. Since Sandra is a 3D model of the camper bus in Sketchup and we had already ordered many materials online, we felt well prepared. But where do you actually start?
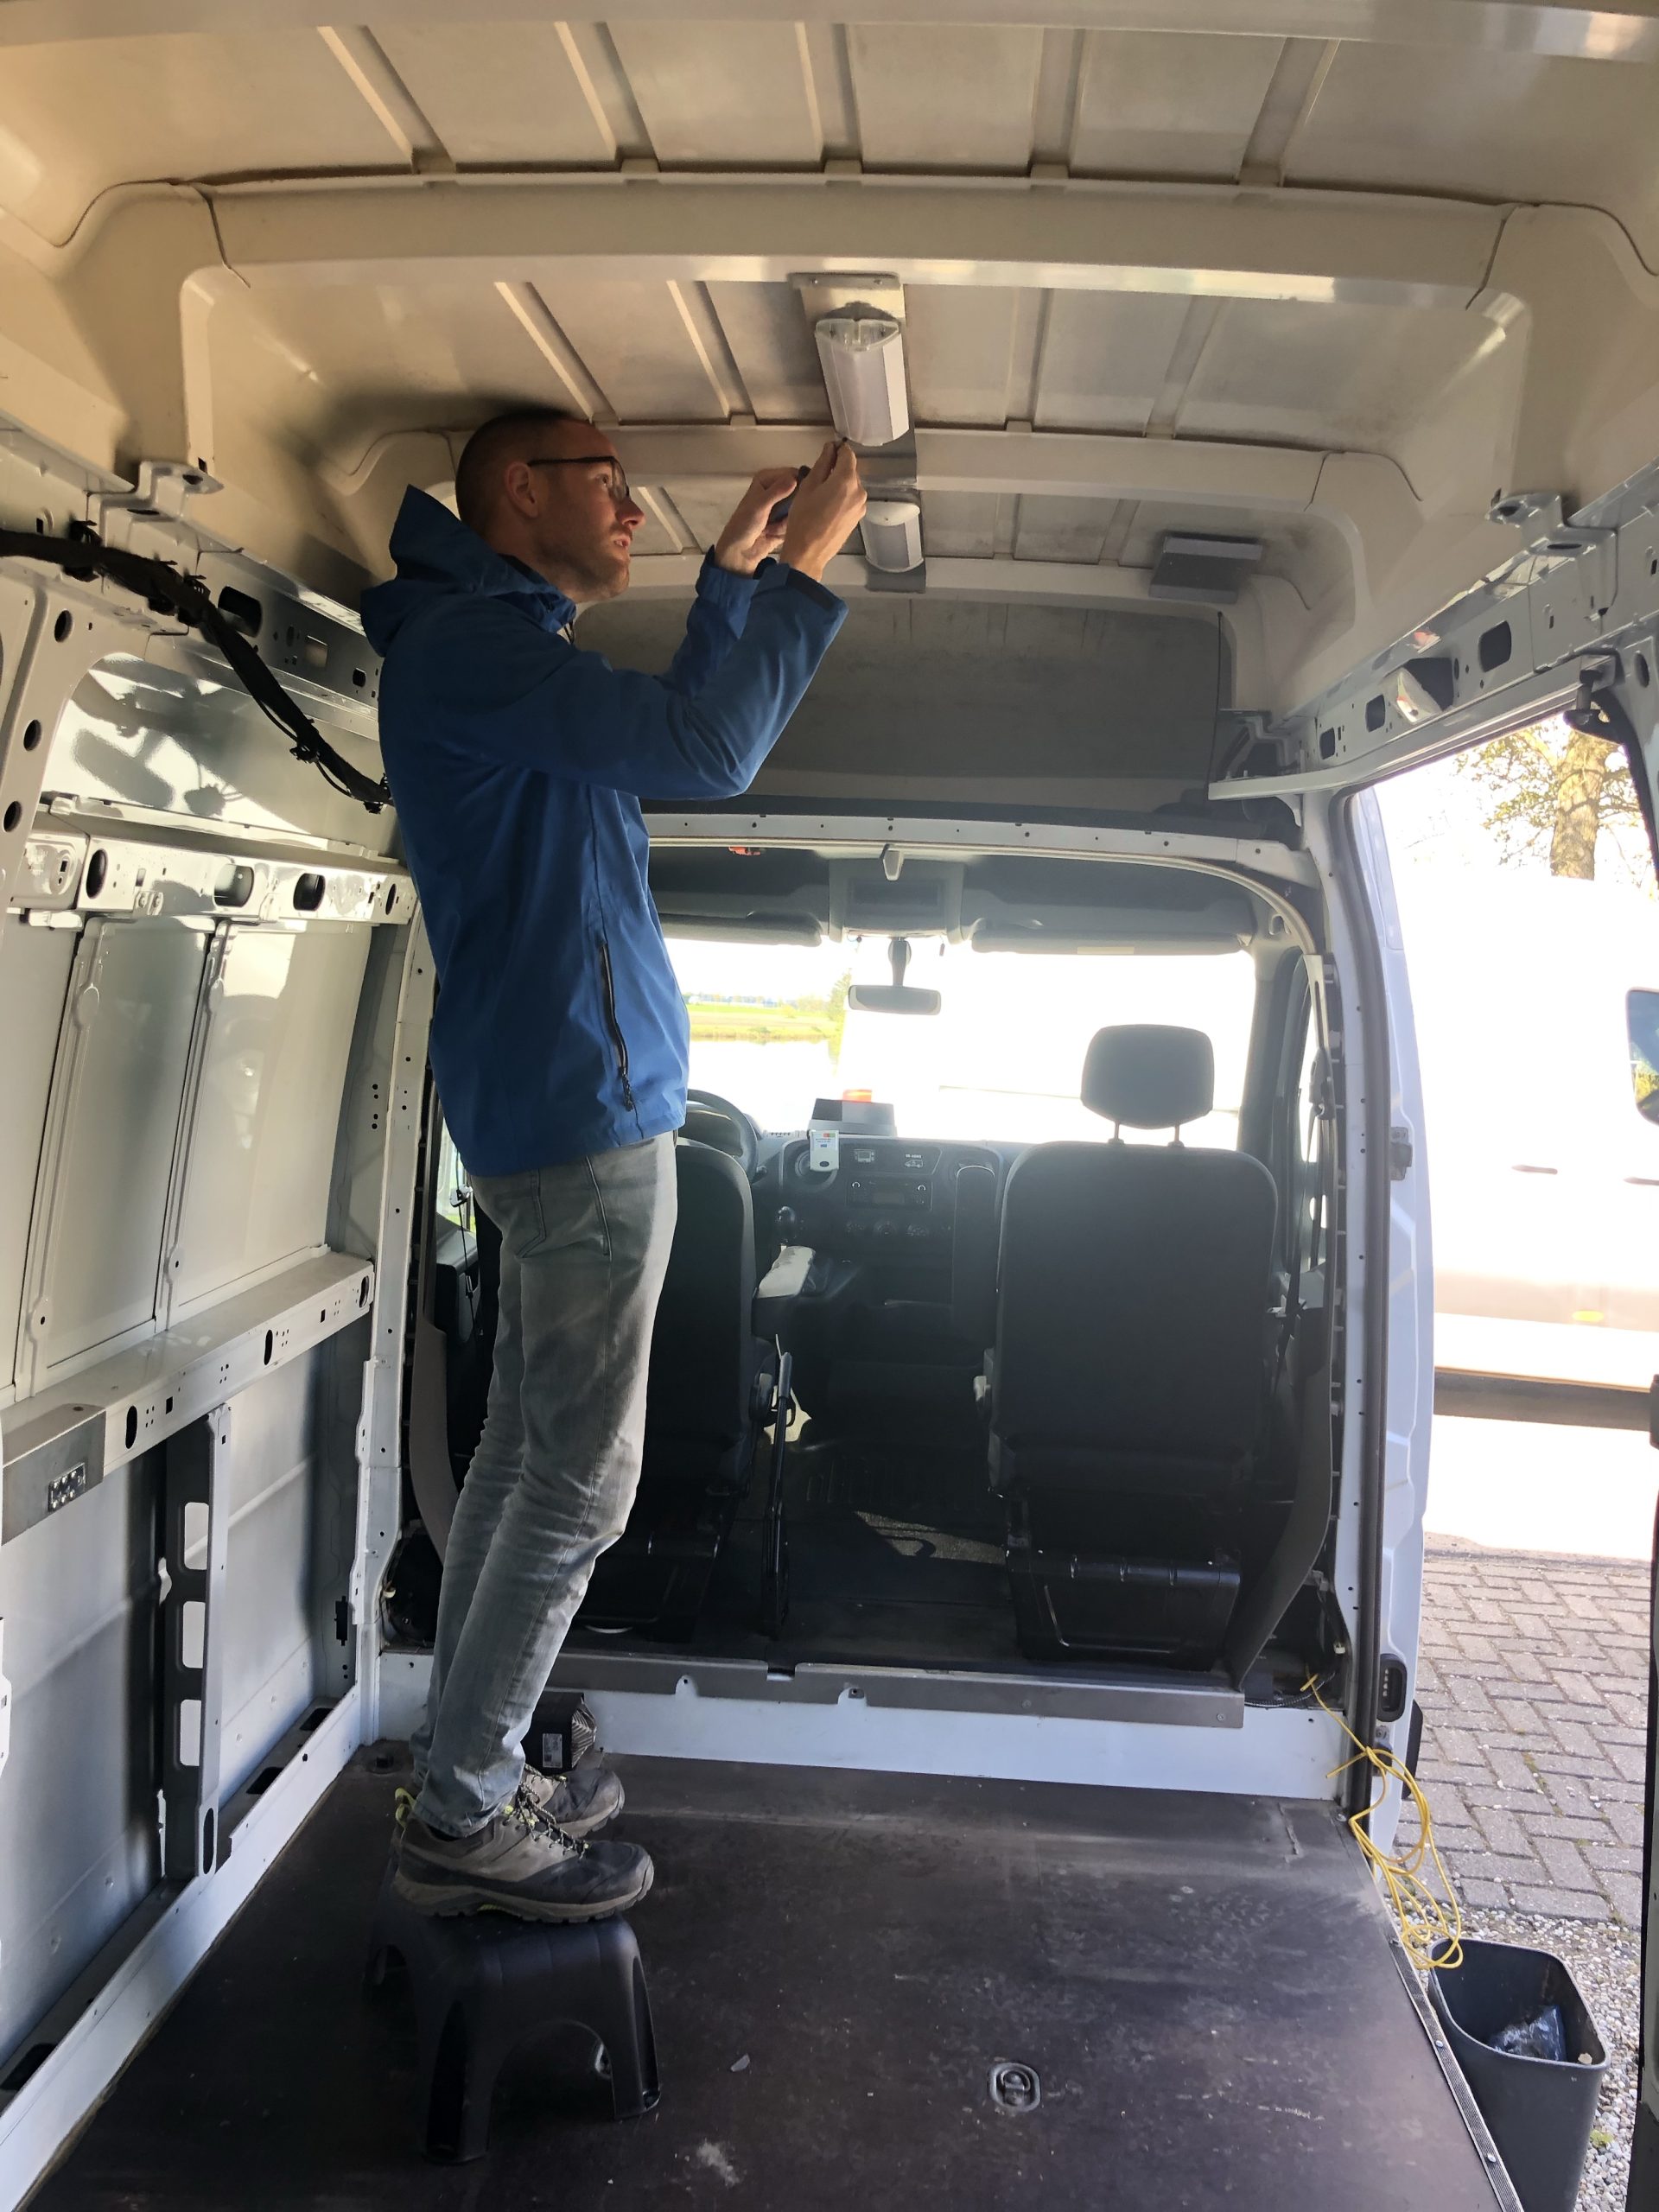
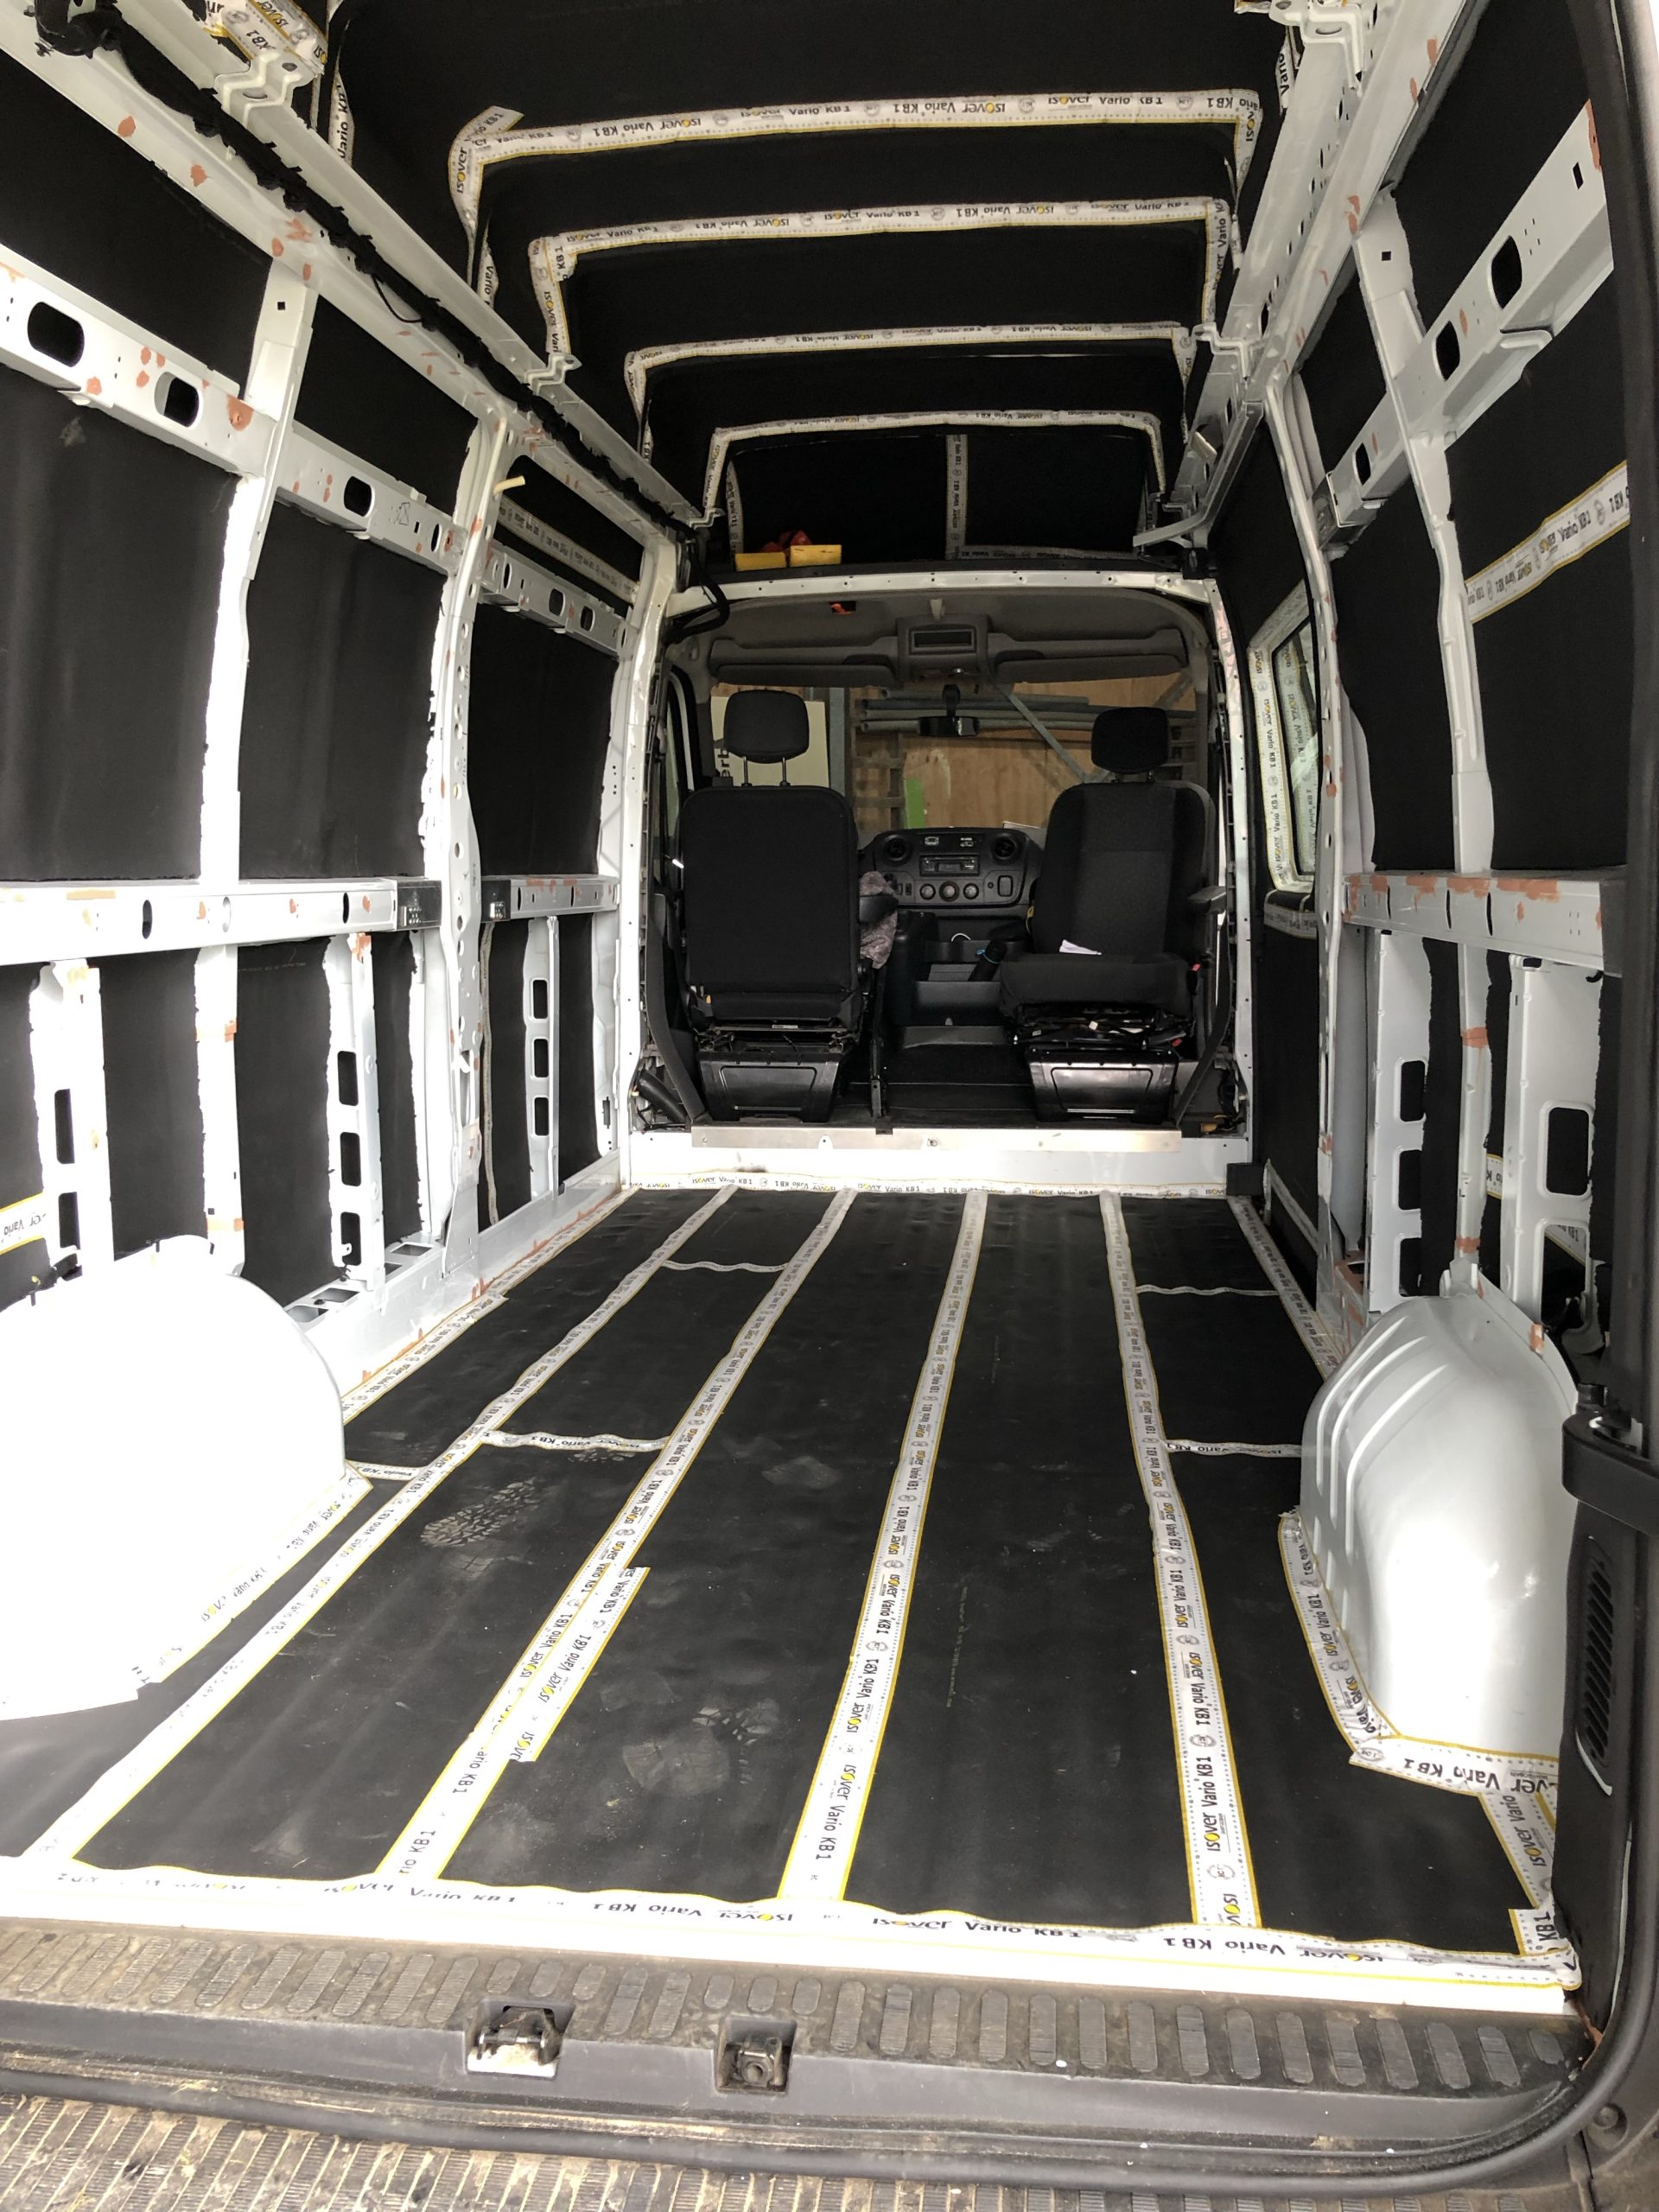
2. Stripping the bus
We started by stripping the bus completely. Our bus is a former work bus of network operator Liander. As a result, there were still all kinds of wires, plates, lamps, etc. All this had to be removed before we could start construction. Removing everything took us about 2 days.
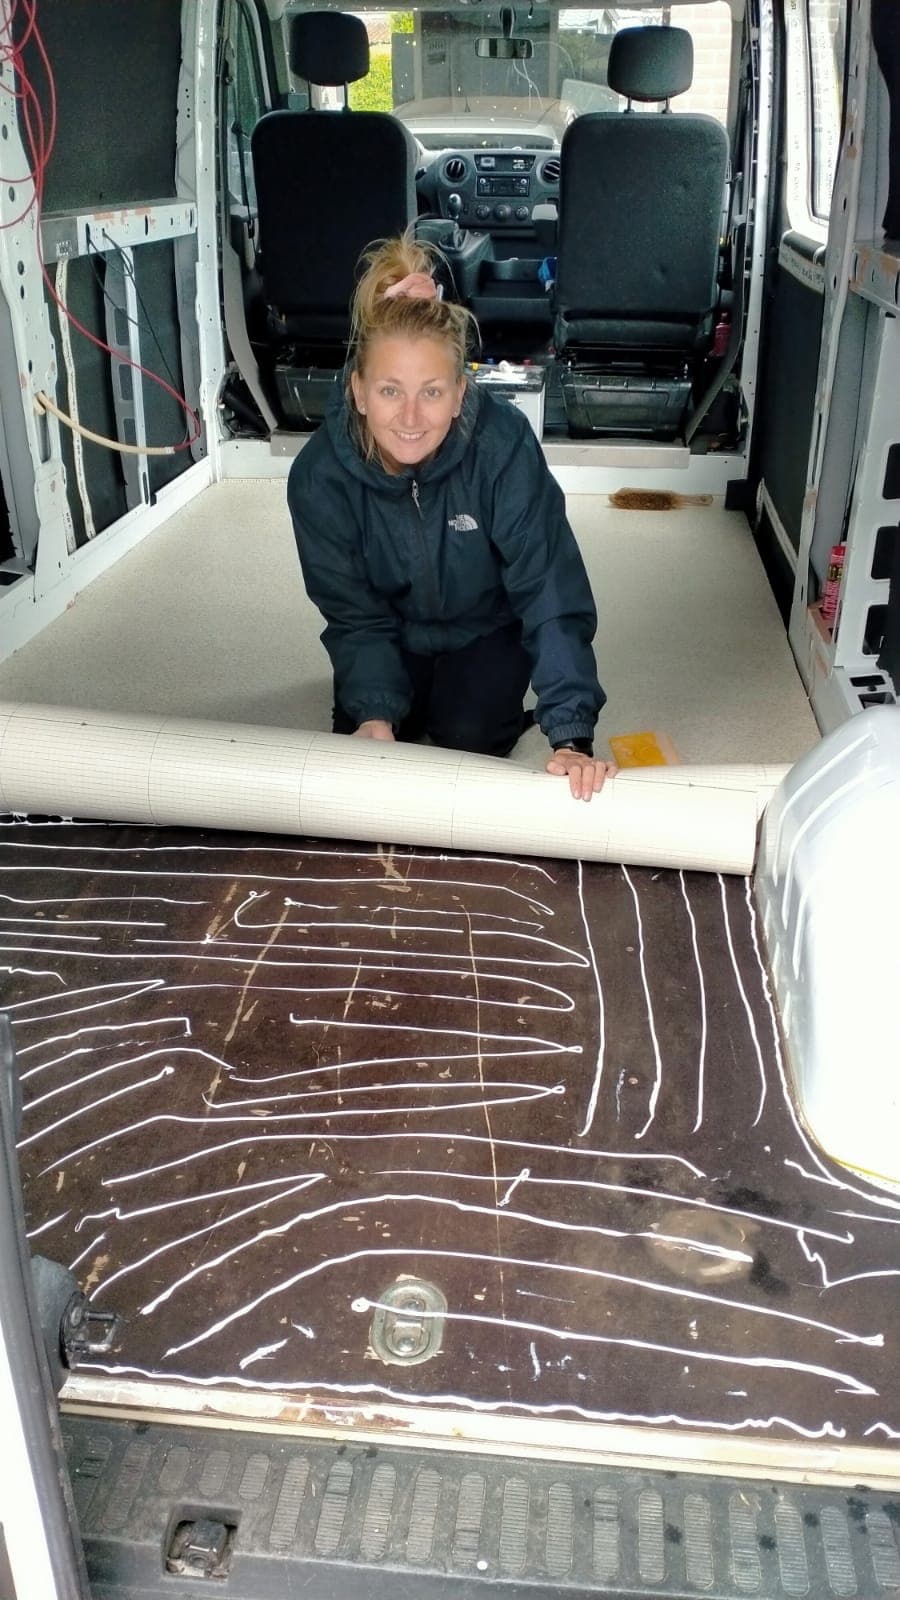
3. Anti-drumming and isolating
After the major cleaning, we started installing anti-drumming plates on the large wall surfaces. We then covered these with Armaflex insulation material. With this we covered the entire bus in about 3 days (this could be faster, but we had to wait for the delivery of material). After insulating, we replaced the floor that was already in the bus and covered it with vinyl. We needed about 1 day for this..
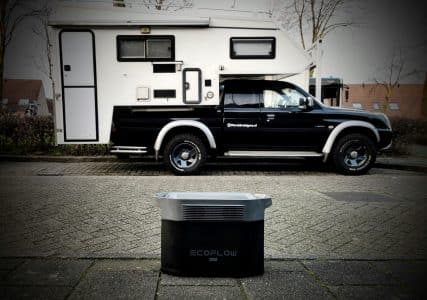
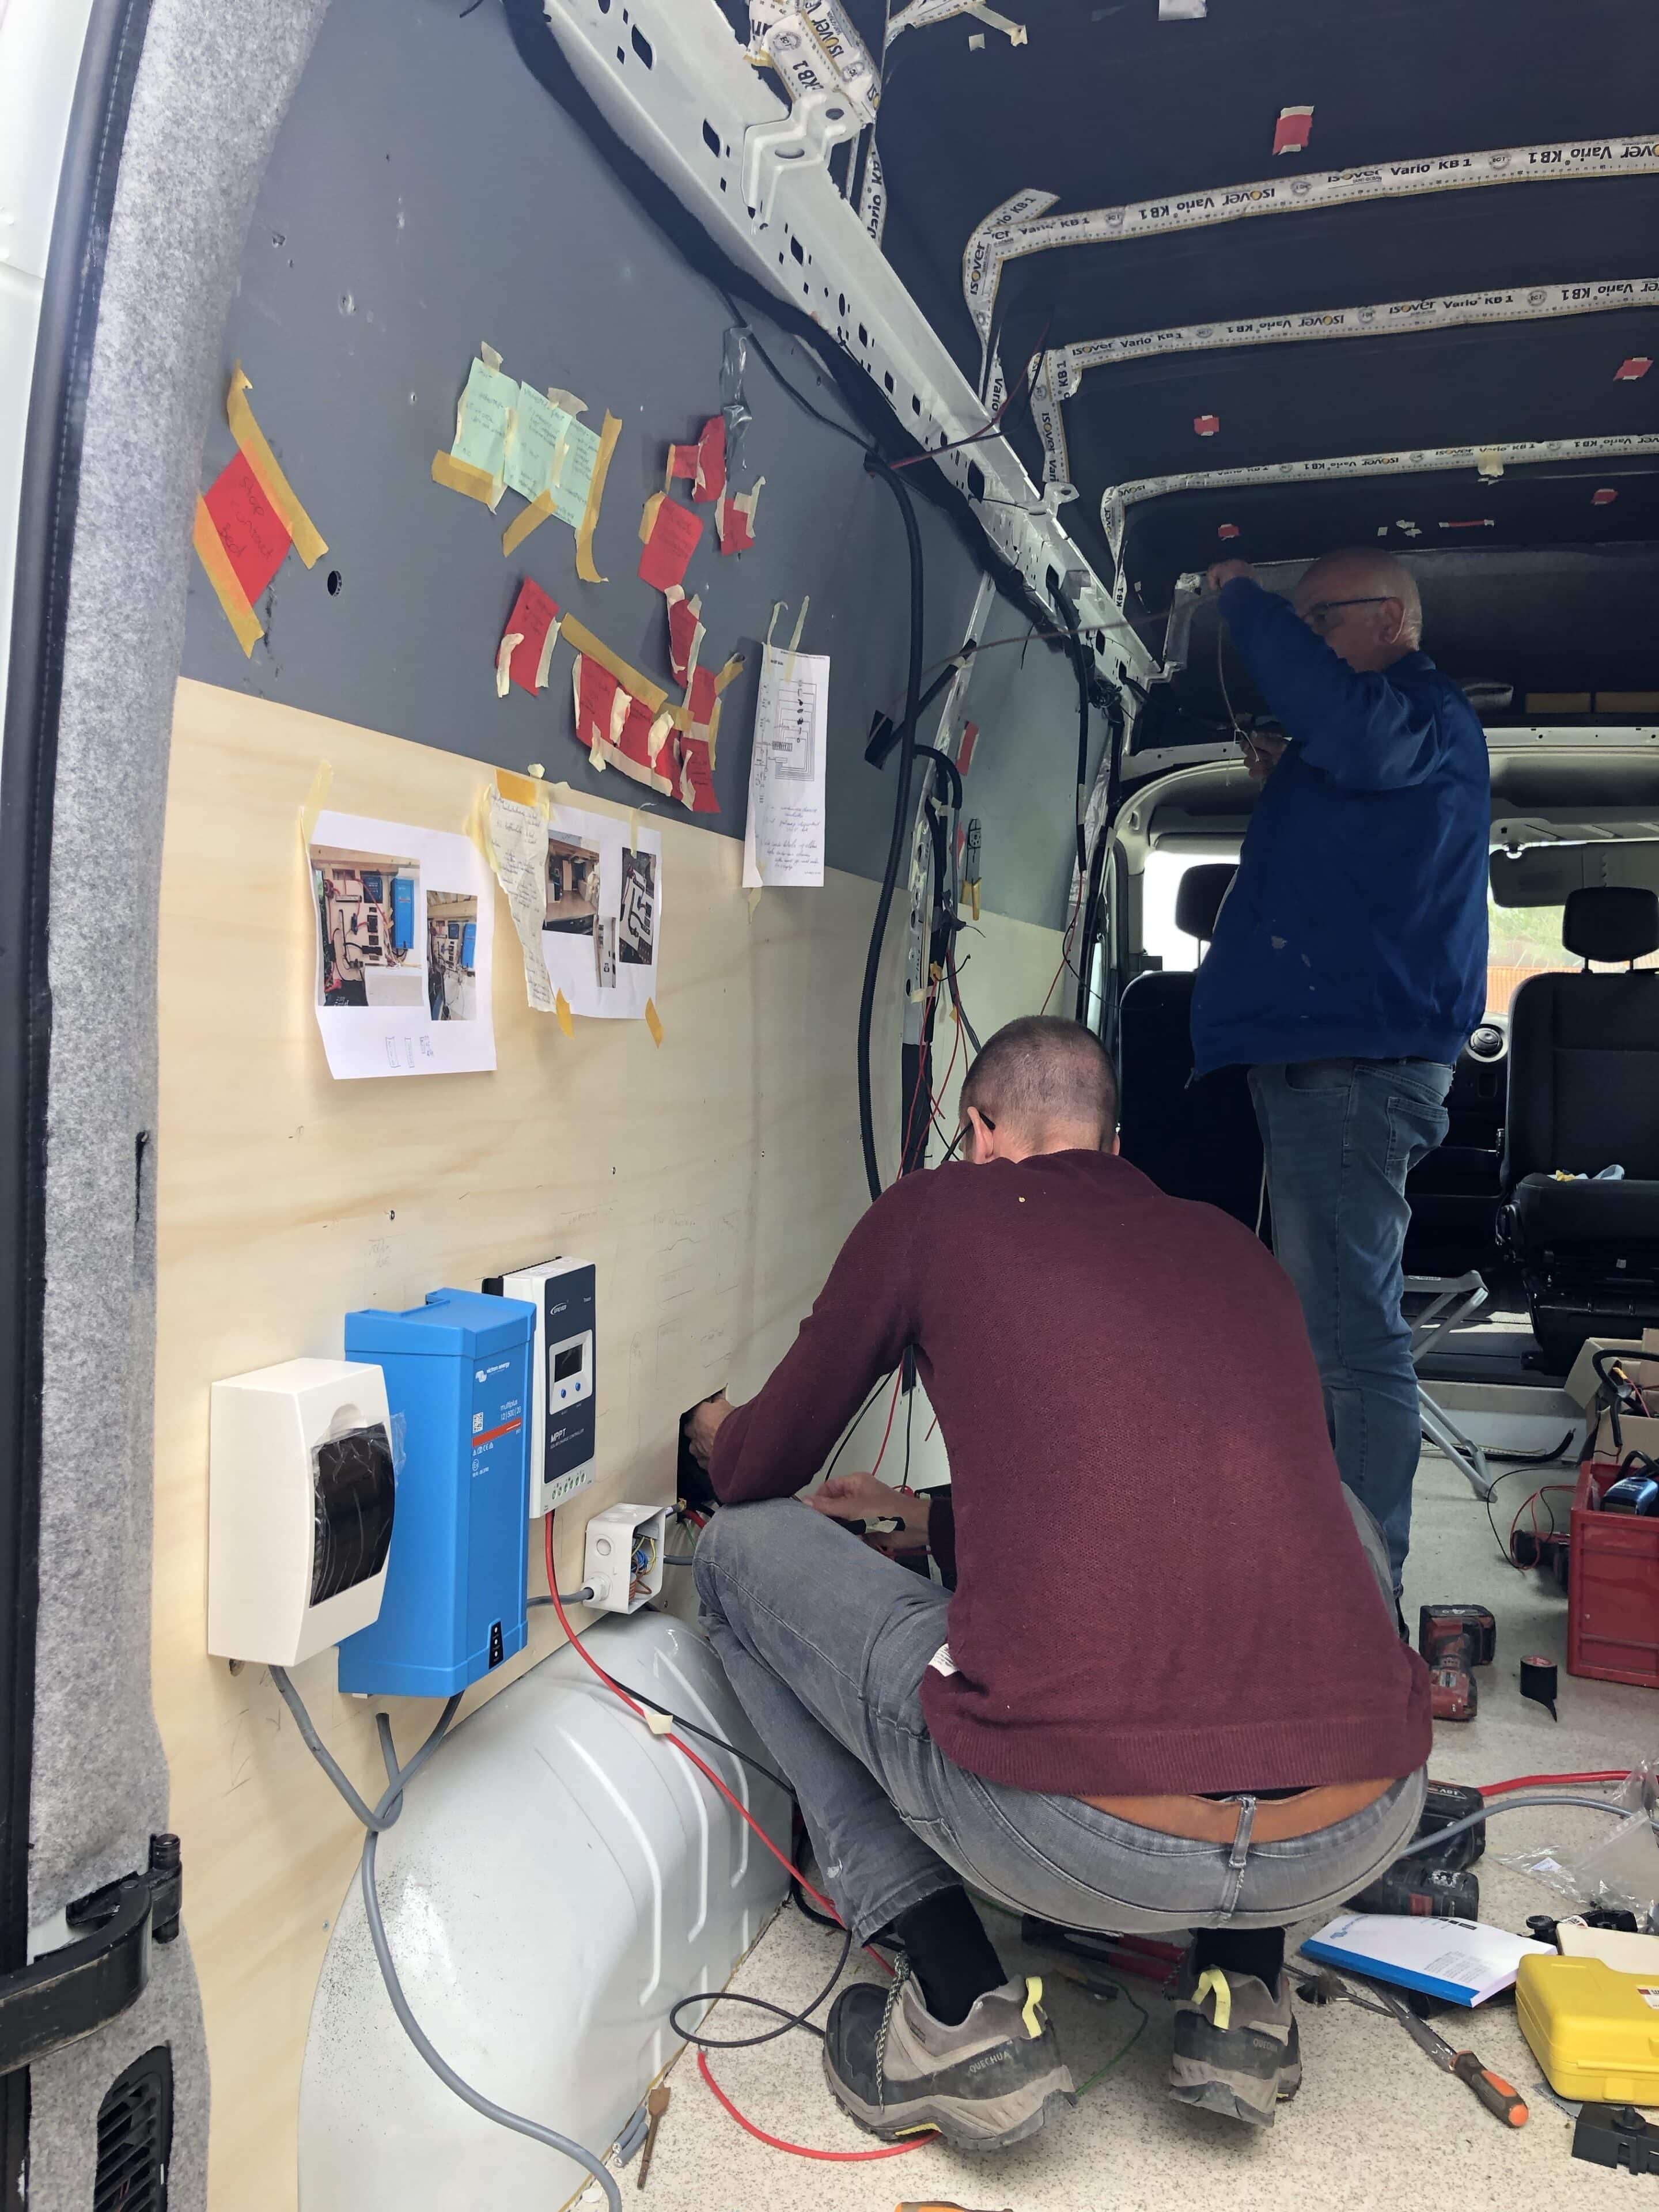
4. Install the electrics
The next step in building the camper was installing electricity. This seems like a complicated job, but since friends of ours have also converted a bus into a camper, we could use their example as a starting point. Installing the solar panels took us about 1 day (mainly to get the mounting brackets to size) and pulling the cables and mounting the electronics took about 2 days.
Also read: Flying solar panels – The danger that lies on the roof of your motorhome
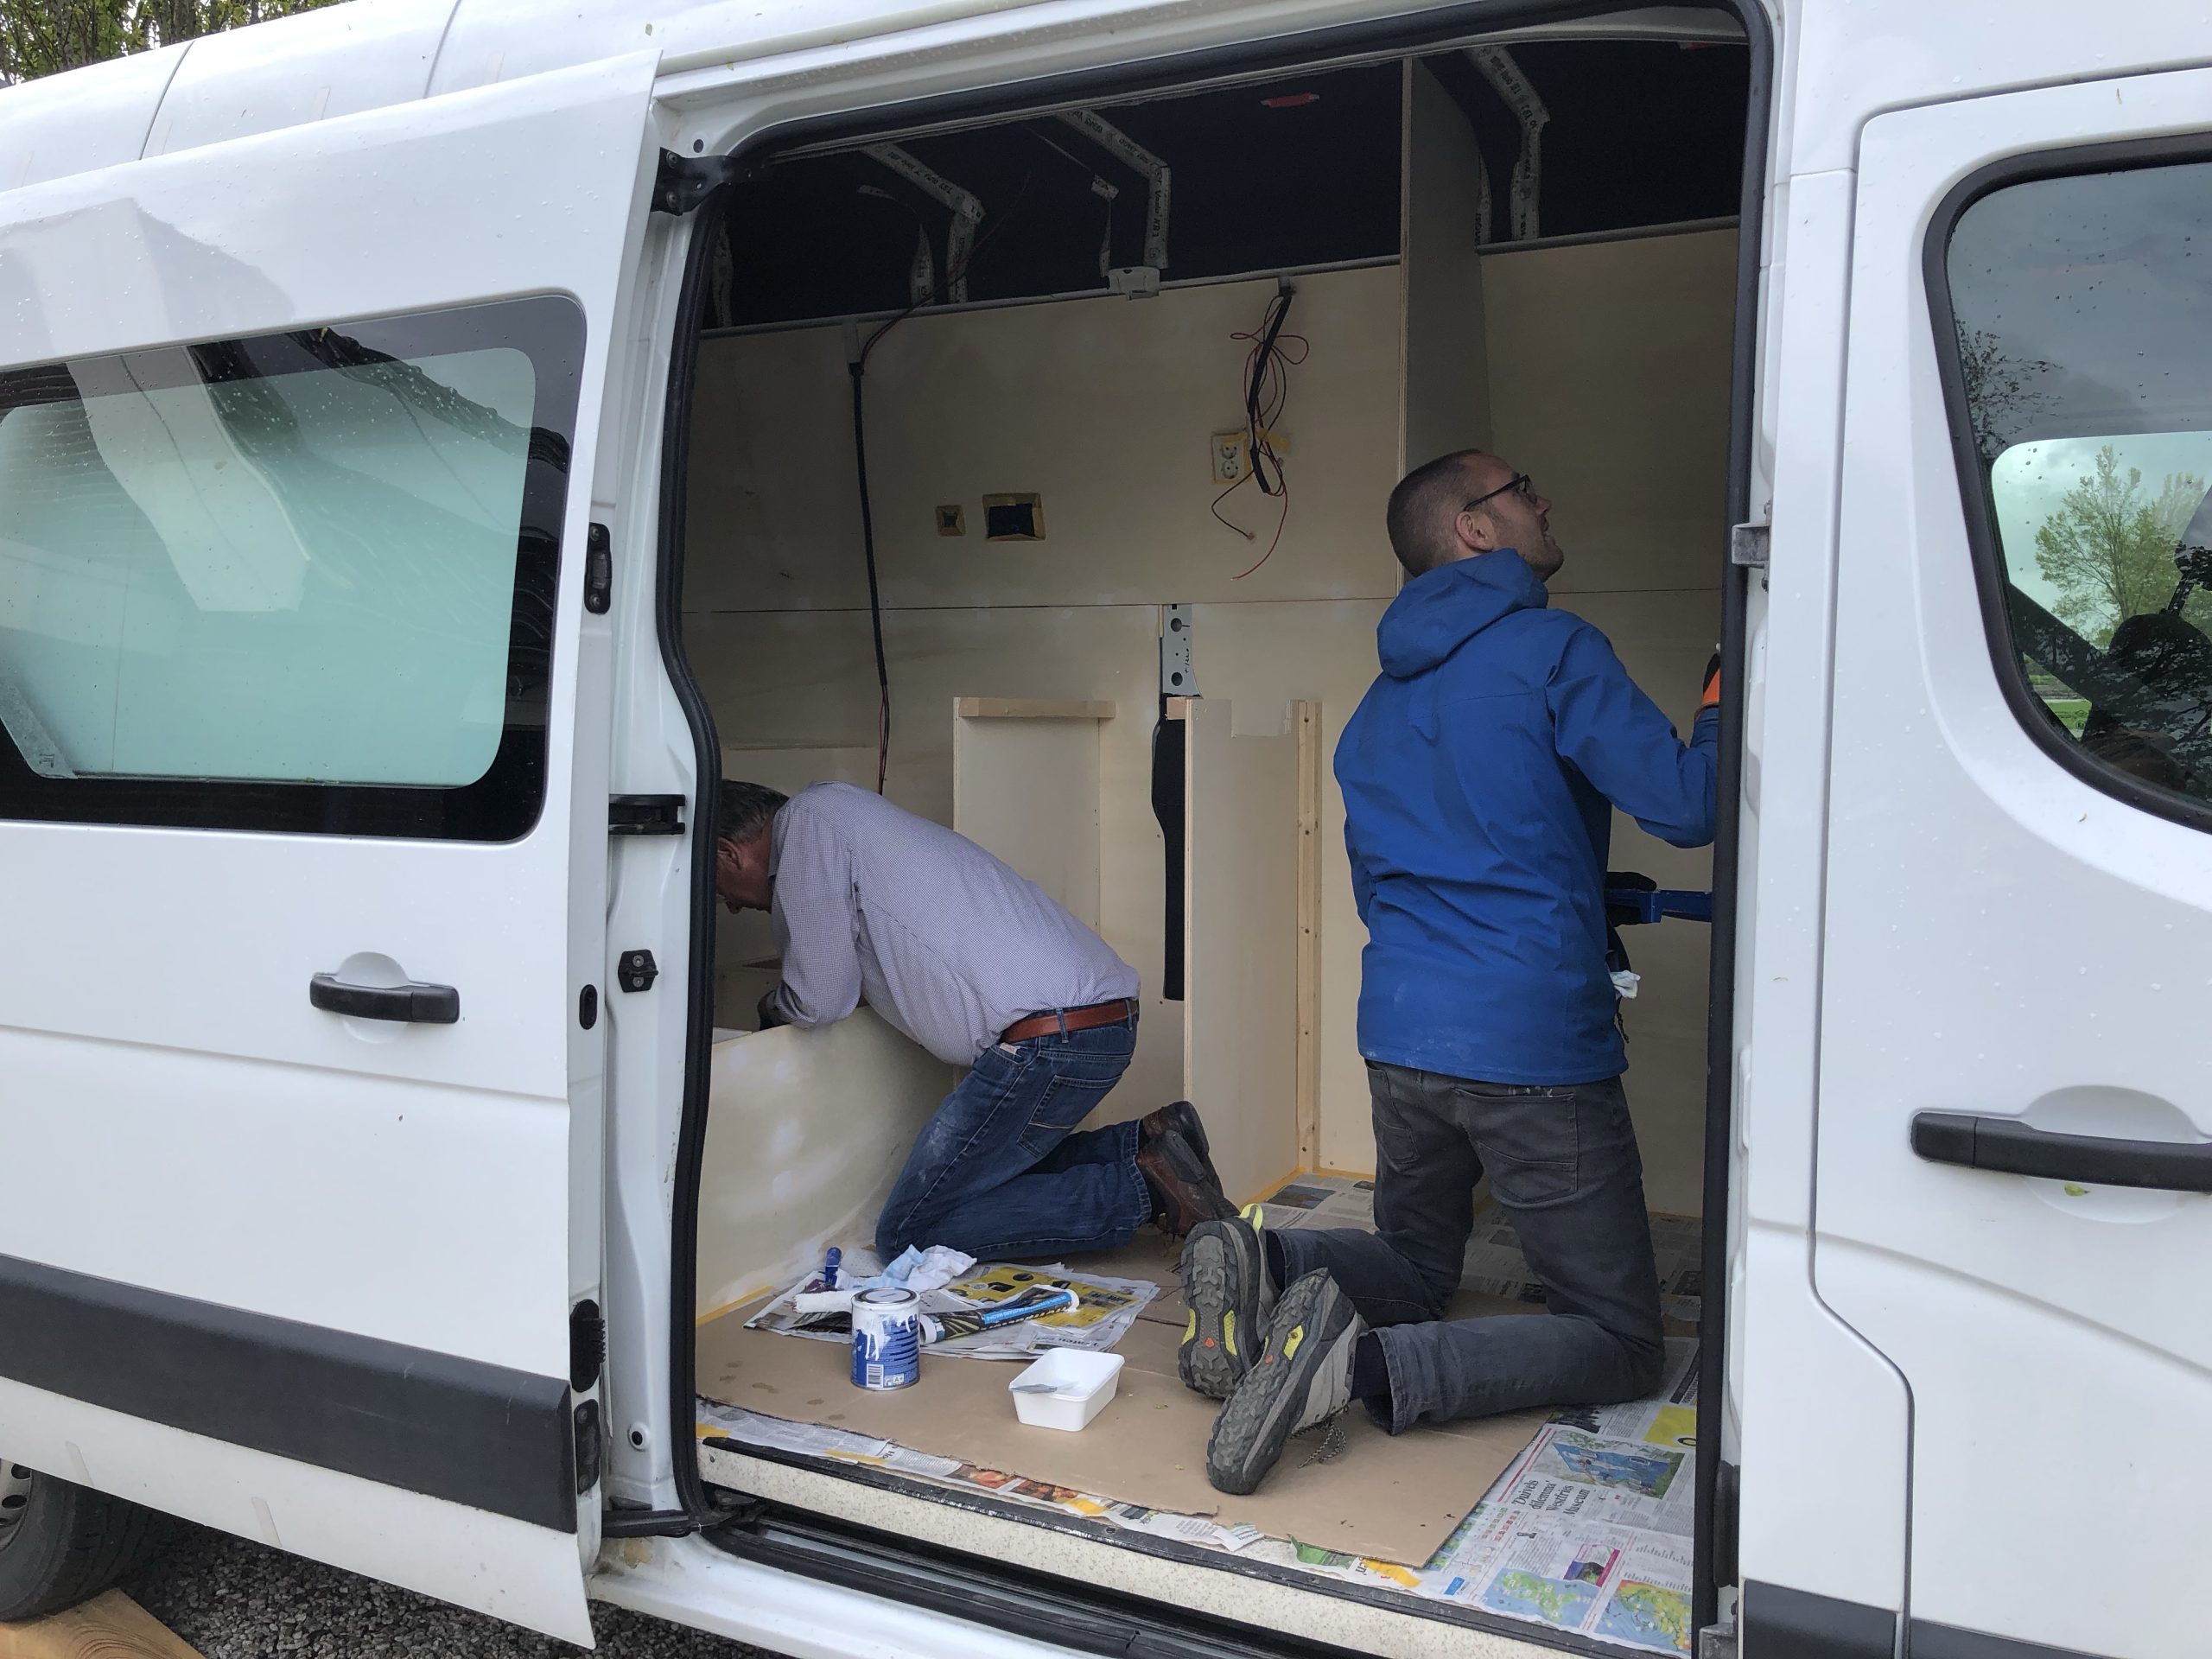
5. Placing the Woodwork
Then it was Sandra's father's turn to place all the woodwork in the bus. Frankly, this is the reason our bus was ready so quickly. Sandra's father is a carpenter and has spent many of his free hours on the bus. Together with Adriaan, he placed the walls and then hammered in the frame. Placing the base took about 5 days.


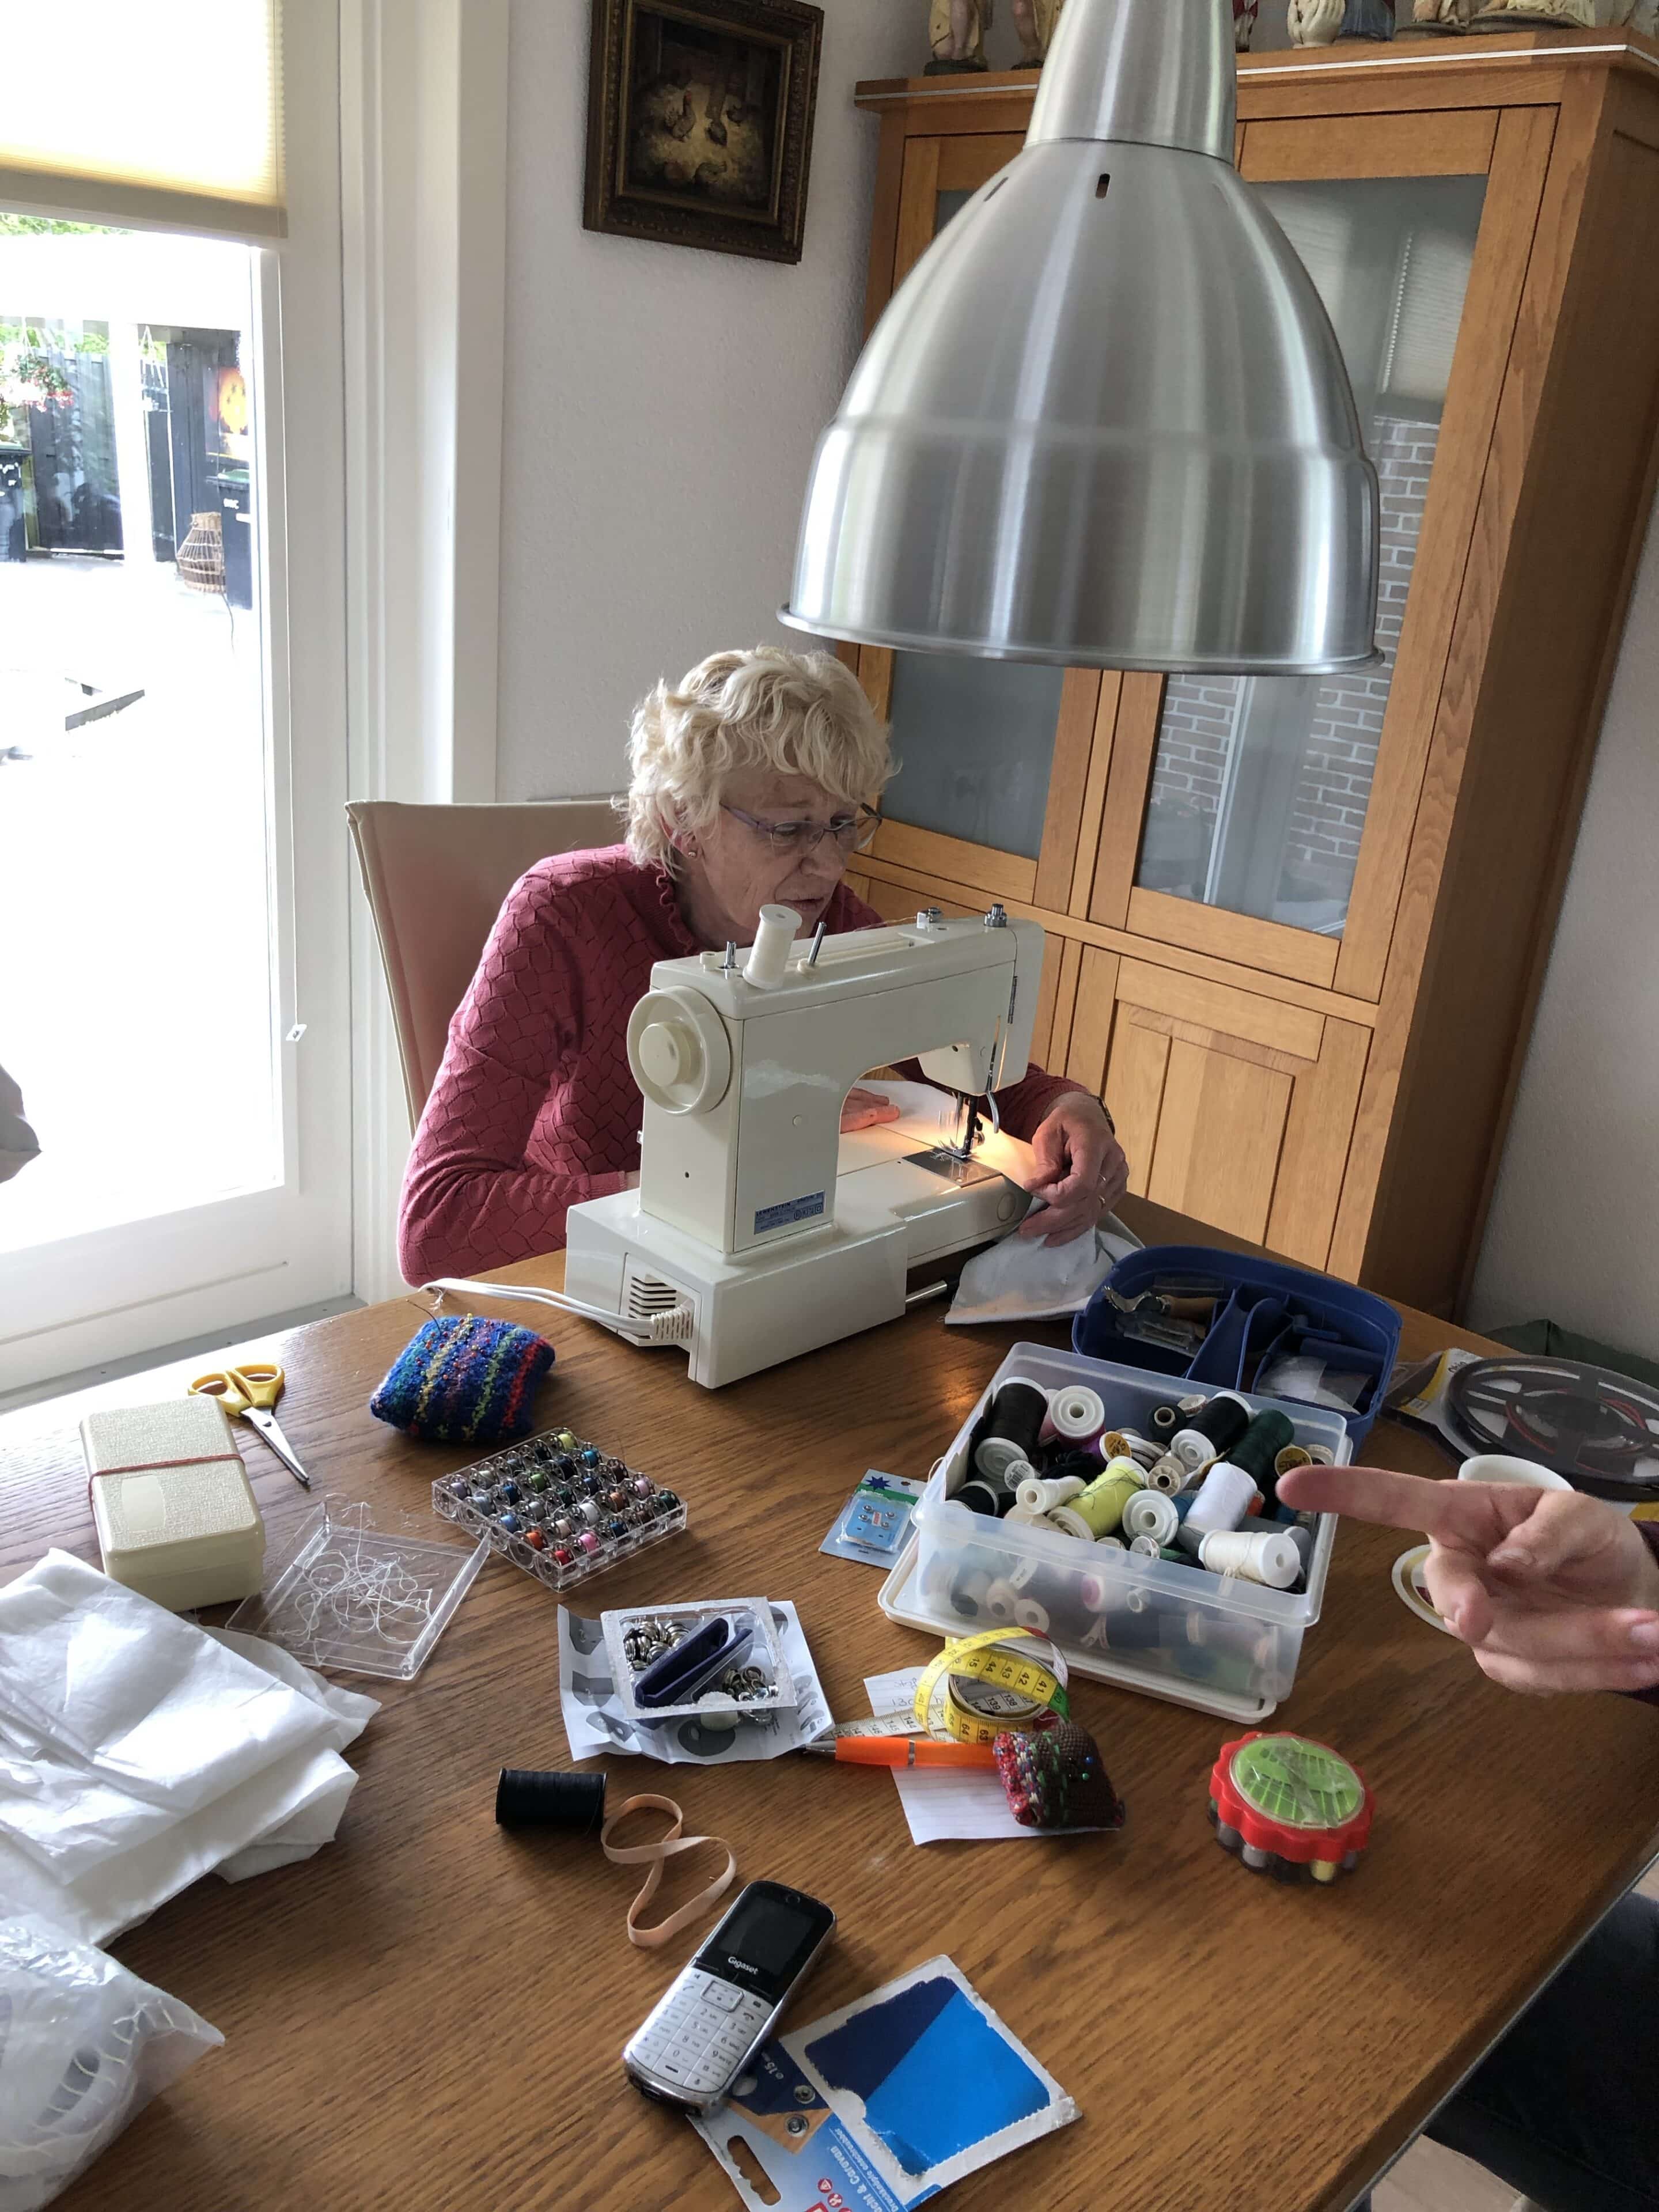
6. Upholster cushions and sofa
In the meantime, Sandra and her mother worked on upholstering cushions for the sofa, cutting the mattress to size (just with a bread knife?) and sewing curtains.
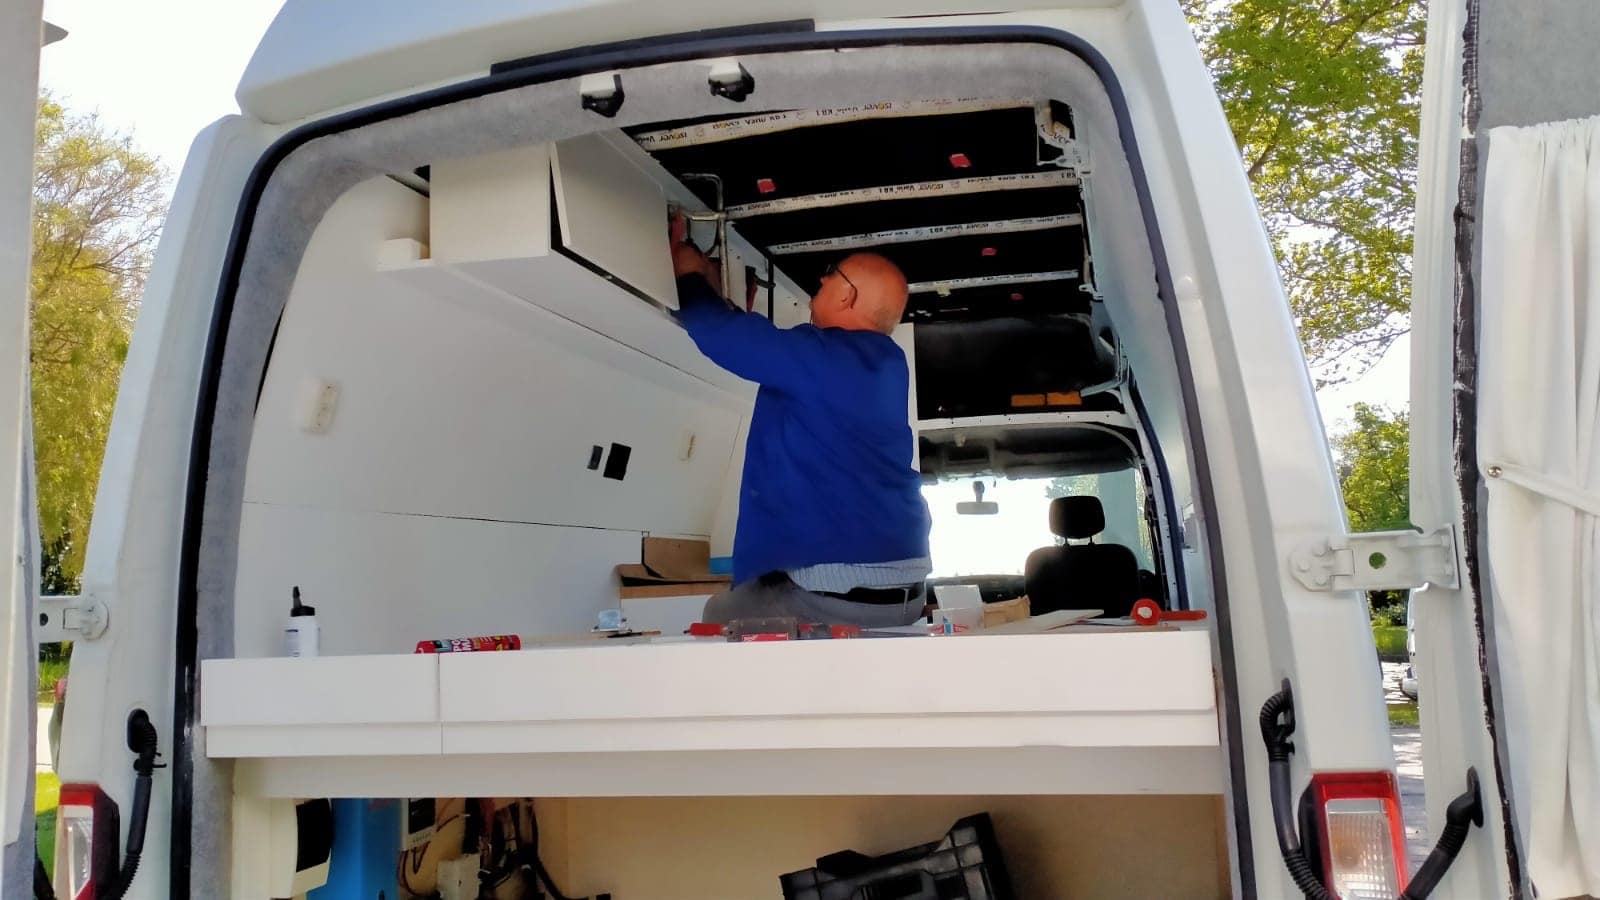
7. Countertops, upper cabinets, drawers and doors
When the base was built, we painted everything together with Adriaan's father and we went to Ikea to buy a counter top, upper cabinets, drawers and doors to further furnish the base. You can of course also make this yourself. I have chosen to use standard sizes for the installation so that the Ikea products fit well and to choose a countertop that we could cut to size ourselves (2 days).
Sandra's father then placed and finished everything (4 days) after which we started working on the "water block".
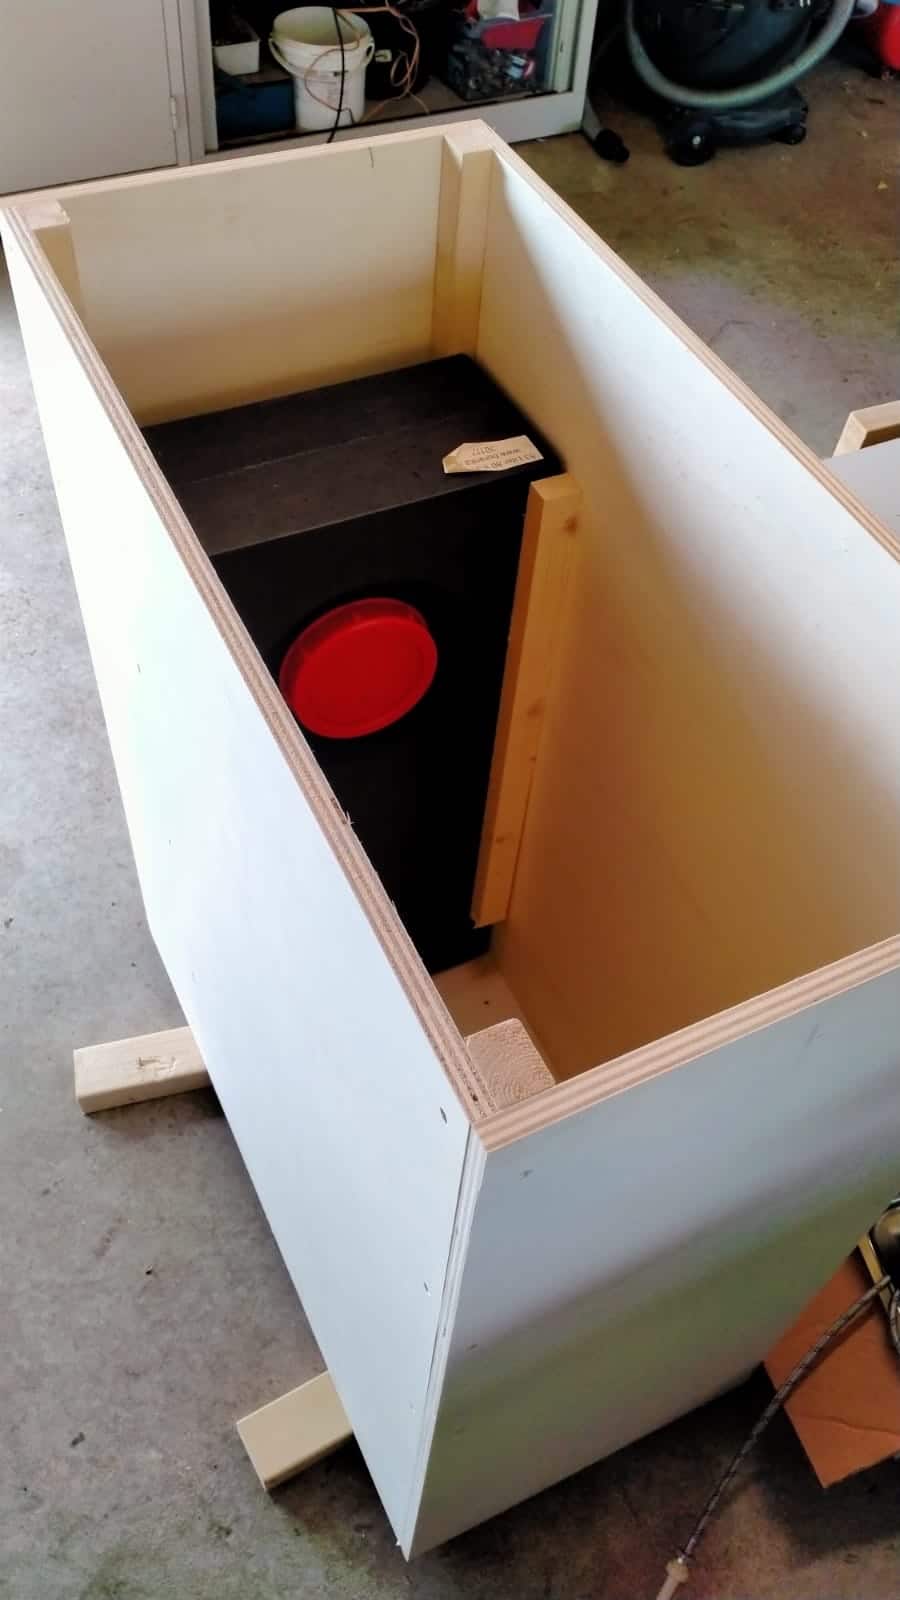
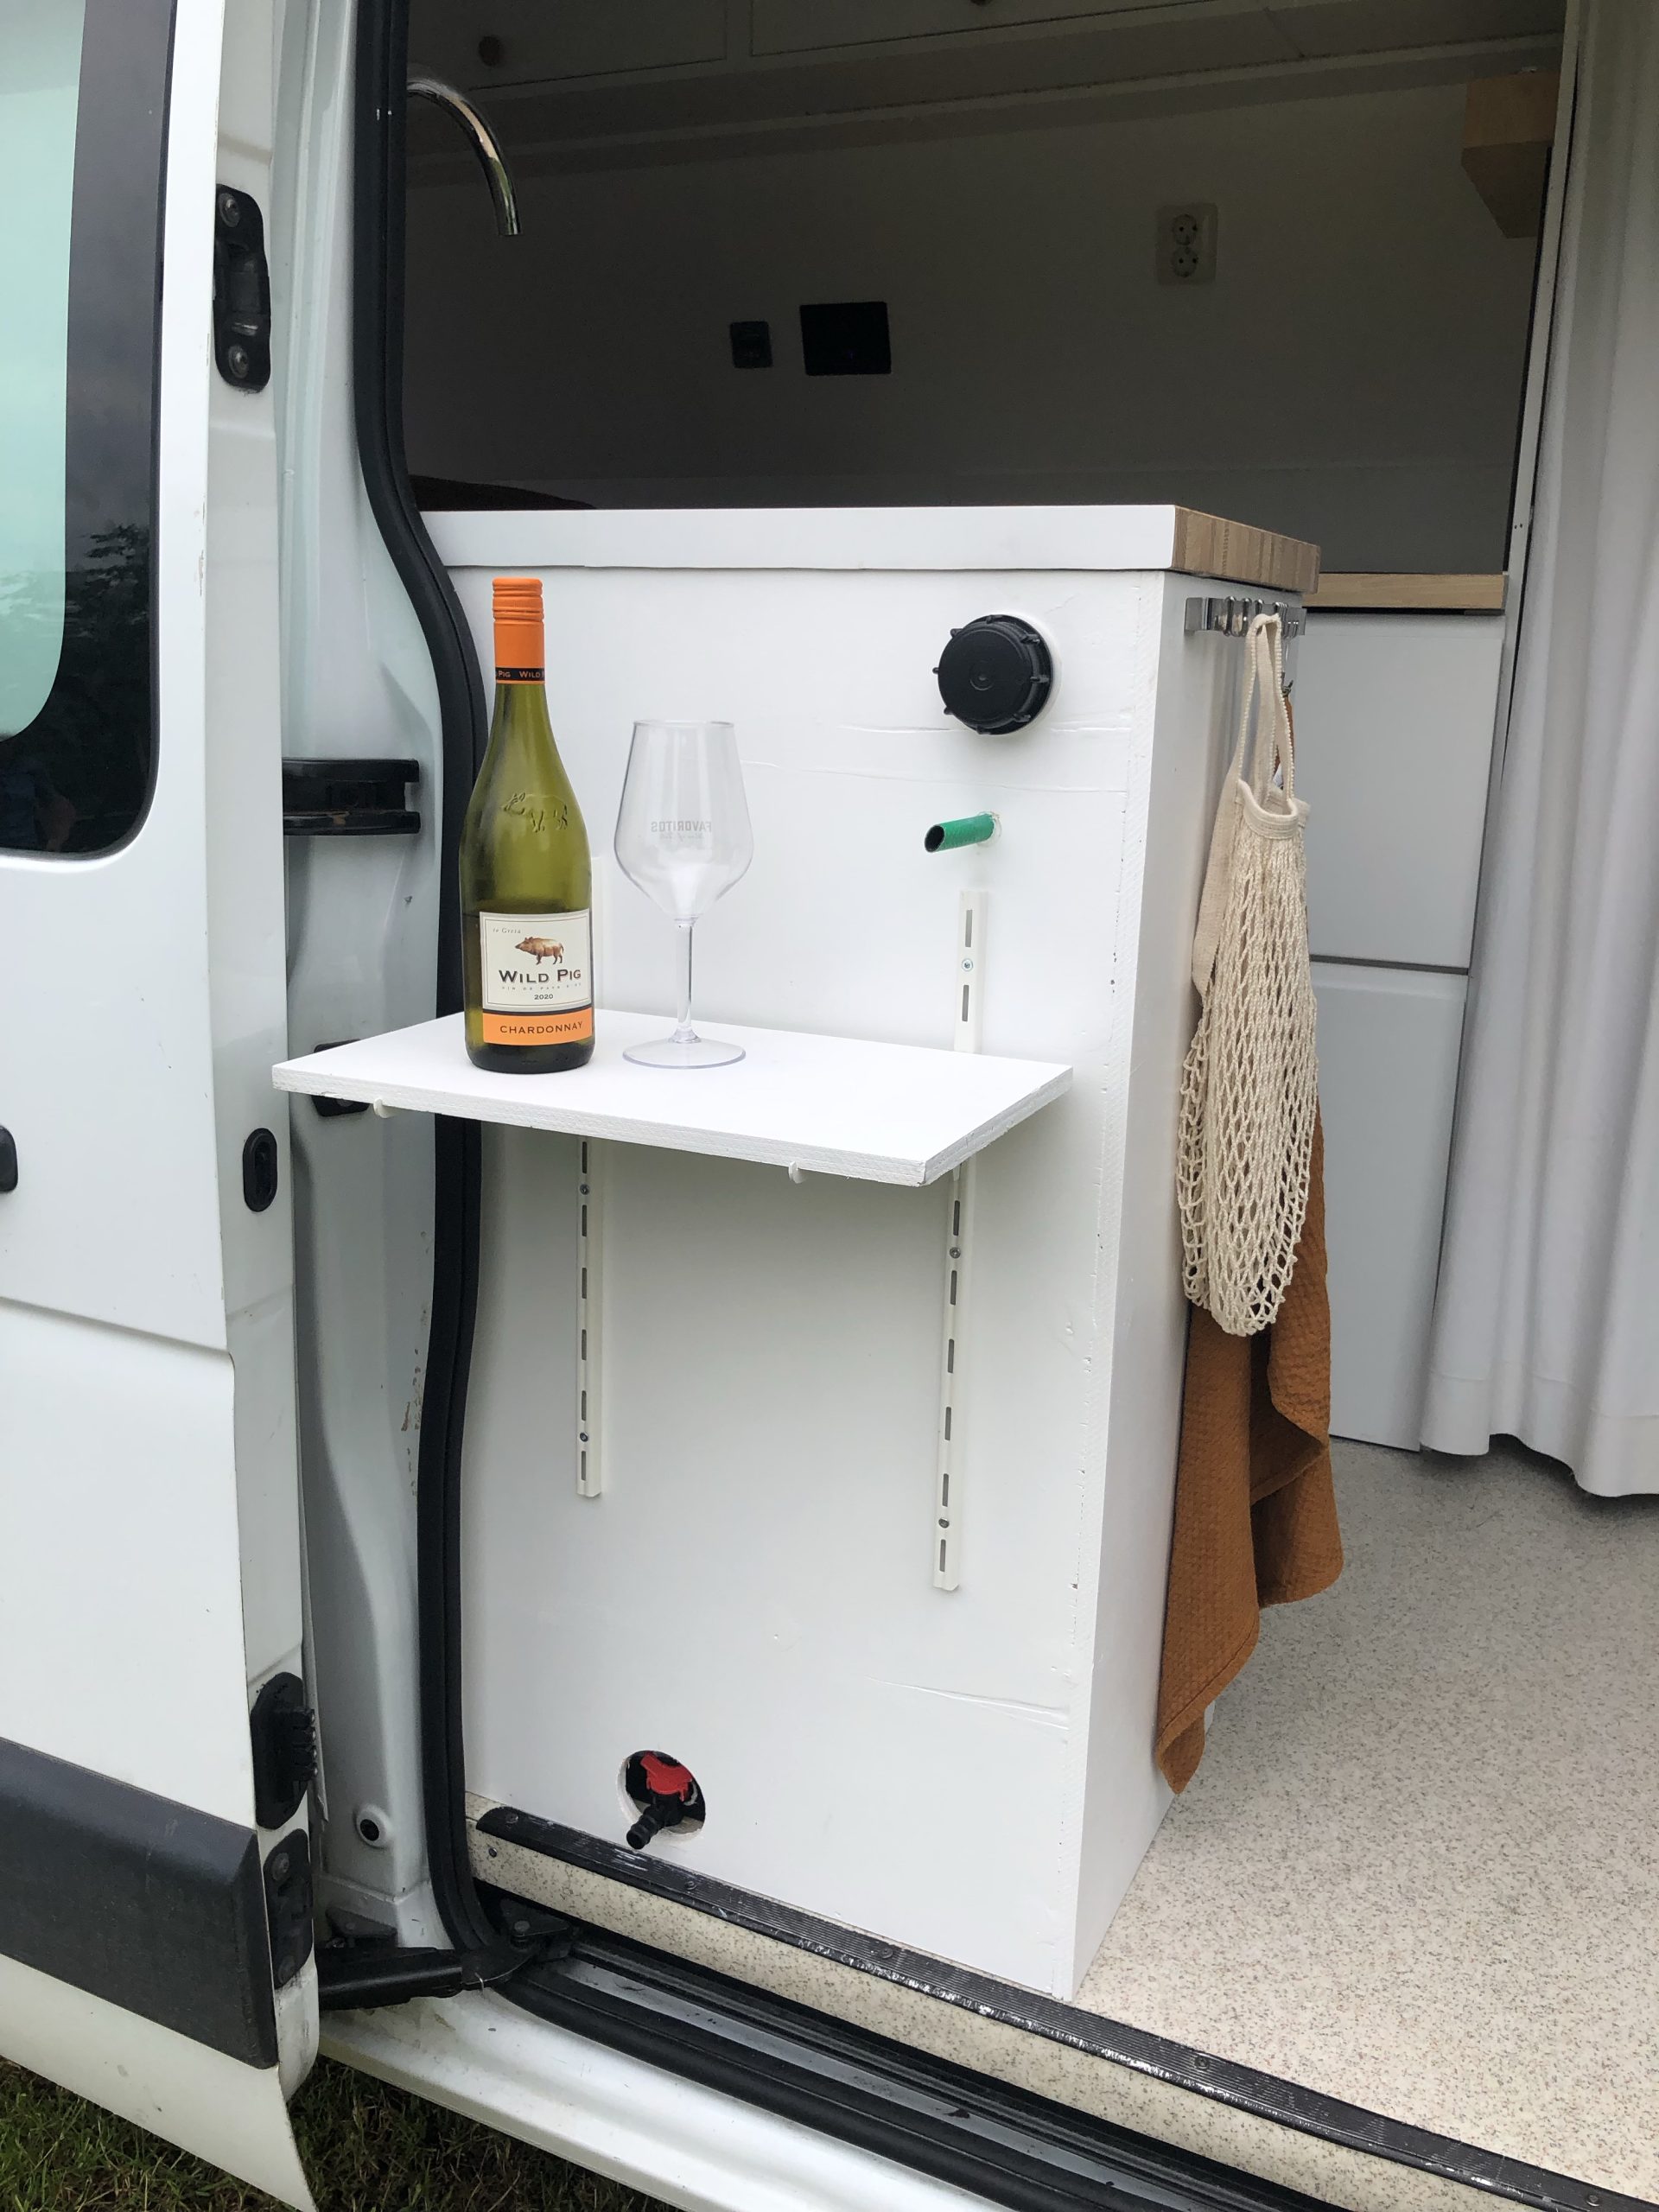
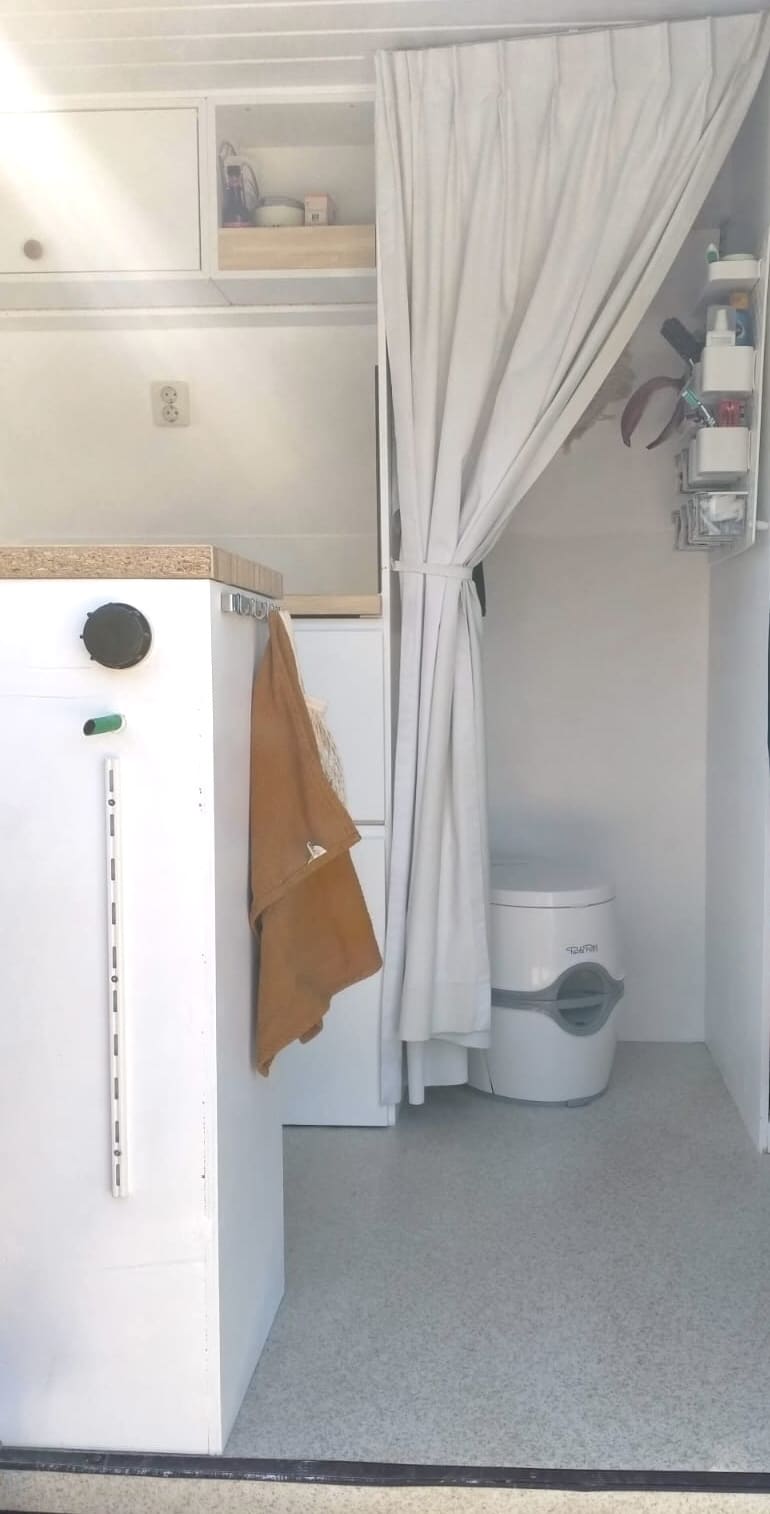
8. Installing the water system
We have chosen to place an extra counter block in the camper in which the clean (53 liters) and dirty water tank (48 liters) are incorporated. The filling and emptying of these tanks can be done at the back of the block so that no extra holes had to be made in the body. By means of a water pump (12 Volt) the water is sucked out of the tank so that water comes out of the tap. Making the block, including the installation, took us approximately 2 to 3 days.
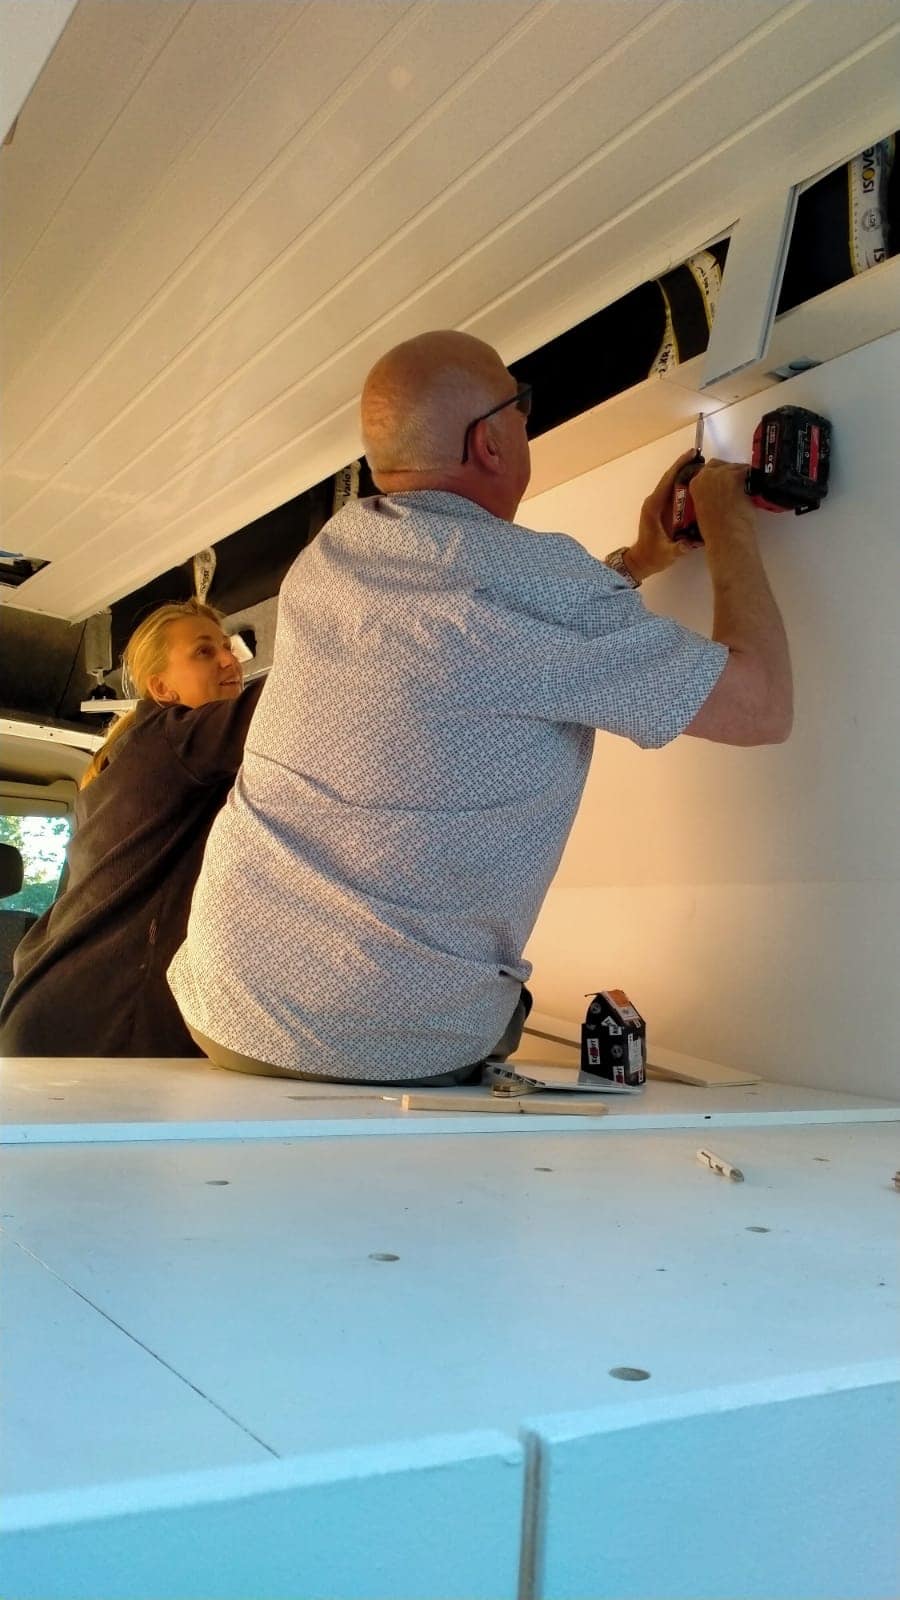
9. Installing the ceiling
The next and last big job of building the camper was the ceiling. Since our roof is made of polyester, installing a skylight with a fan was not that bad. This job was completed within 3 hours. We covered the ceiling itself with plastic scraps. We have chosen this because this is relatively light material and the lines emphasize the length of the bus. Placing the scraps took almost 2 days because a cove had to be placed on the sides.
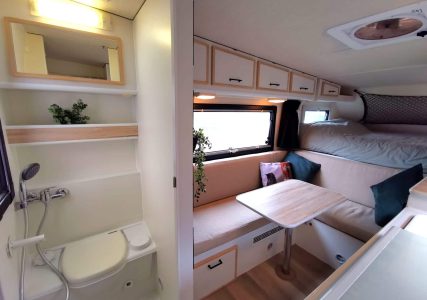
10. Finishing and decoration
Then it was time for finishing and decoration. We needed a total of about 3 days for this and afterwards we officially declared the bus on June 9th! Below the end result of the layout of the DIY camper.

the look back
We thought it was a very nice project to tackle and we learned a lot while building the camper. We can't deny that Sandra's handy dad was a big advantage, but the biggest advantage was mostly having time. We were able to work on it every day of the week without hindrance. In addition, we used many of our evenings to order the right material and we had a camping shop nearby that helped us with, for example, the construction of the water.
Are you also planning to convert a bus into a camper? Don't hesitate to get in touch with any questions. Good luck!